Materials download 

Plugins:
-
Filters Unlimited 2.0
-
RCS filter pak 1.0 - RCS screenworks
- Grid * Import in Filters Unlimited
-
Alien Skin Eye Candy 5
Impact - Glass & Perspective Shadow
-
Simple – Top Left Mirror
-
Toadies – What Are You?
-
Alf’s Power Sines – Abs Sin Grads II
- * Import in Filters Unlimited
-
VanDerLee Unplugged X – Vertical
Tile
-
Graphics plus - Cross
Shadow
Preparations:
-
Copy the selection files to
the Selections folder of PSP
-
Copy the Pattern file to
the Patterns folder of PSP
-
Double Click on the Eye
Candy Preset, it will be imported
automatically
Used Colors:

This translation is
written with PSP13 but can also be made with other PSP
versions.
Note: When working
with your own colors, play with the Blend Mode
and/or Opacity at your own discretion
Tube by Syl from the Clean Tube
Carouse HERE
~°~°~°~°~
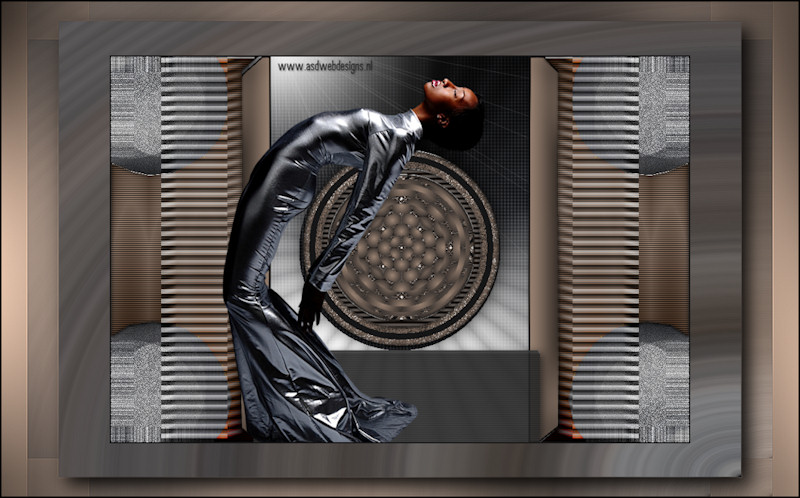
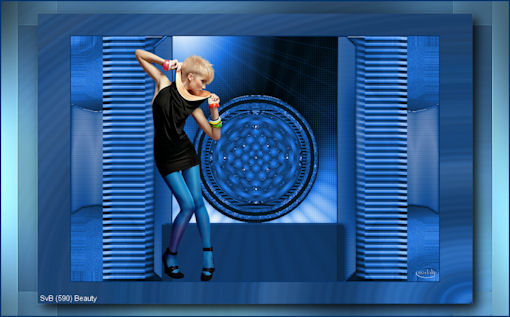
01.
Open a new transparent
image of 900 x 600 px
Set your
Foregroundcolor to Foreground/Background Gradient
(Corel_06_029) - Style: Sunburst
Fill your image with the gradient
Selections - Select All
Open Tube "SvB (574) Beauty" -
Edit - Copy
On your work image - Edit -
Paste Into Selection
Selections - Select None
Effects - Image Effects - Seamless
Tiling
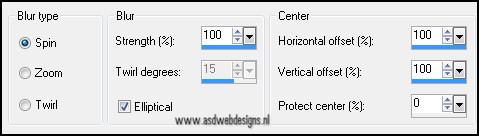
Adjust - Blur - Radial Blur
02.
Layers - Duplicate
Image - Flip
Image - Mirror
Layer Palette - Set the Layer Opacity of
this layer to 50
Layers - Merge - Merge Down
03.
Layers - Duplicate
Effects - Plugins – Filters Unlimited
- RCS filter pak 1.0 – RCS screenworks - Grid - Default
Image - Resize - 75% - Resize all
layers not checked
Effects - Plugins – Toadies – What
Are You - 20- 20
04.
Layers - Duplicate
Image - Free Rotate - Left - 90°
Open Tube "tube Aizza MD" -
Edit - Copy
On your work image - Edit
- Paste As New Layer
Layers - New Raster Layer
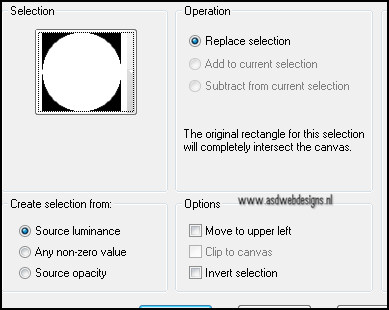
Selections - Load/Save Selection -
Load Selection From Disk - MDlessen-selectie 76
Selections - Modify - Expand - 1px
Open Tube "deco 3 Aizza MD" -
Edit - Copy
On your work image - Edit -
Paste Into Selection
Selections - Select None
Effects - Plugins - Alien Skin Eye
Candy 5 - Impact - Glass -
Settings Tab: MDlessen-Aizza-ECglas
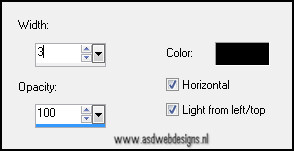
Effects 3D Effects - Dropshadow
- 0 - 0 -75 - 45 - #000000
05.
Layers - New Raster Layer
Selections - Load/Save Selection -
Load Selection From Disk - MDlessen-selectie 77 - Same
settings as before
Set
your Foregroundcolor to Pattern and look for the
"GlitterZilver" Pattern
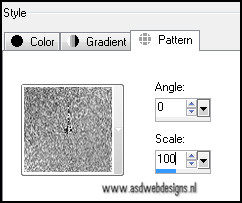
Fill the selection with the
pattern
Selections - Select None
Effects - Plugins – Simple – Top Left
Mirror - Default
Effects - Plugins – Toadies – What
Are You ? - 20- 20
Layer Palette - Set the Blend Mode of this
layer to "Hard Light"
06.
Layer Palette - Click on the Bottom layer
Selections - Load/Save Selection -
Load Selection From Disk - MDlessen-selectie 79 - Same
settings as before
Selections - Promote Selection to
Layer
Layers - Arrange - Bring to Top
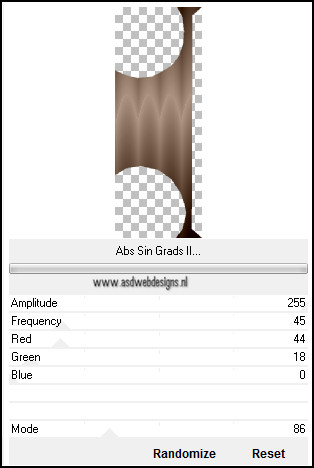
Effects - Plugins – Filters Unlimited
– Alf’s Power Sines – Abs Sin Grads II
Effects - Texture Effects - Blinds -
Color #000000
Effects - Plugins - Alien Skin Eye
Candy 5 - Impact - Glass -
Settings Tab:
MDlessen-Aizza-ECglas
Effects 3D Effects - Dropshadow
- 0 - 20 - 70 - 50 - #000000
Selections - Select None
07.
Layers - Duplicate
Image - Mirror
Layers - Merge - Merge Down
08.
Layer Palette - Click on the Second layer from
the top
Selections - Load/Save Selection -
Load Selection From Disk - MDlessen-selectie 78
Edit
- Cut
Layers - New Raster Layer
Fill
with #9a8373
Selections - Modify - Select Selection Borders
Layers - New Raster Layer
Fill
with #181819
Selections - Select None
Layers - Merge - Merge Down
Effects - Texture Effects - Blinds -
Same settings as before
09.
Open Tube "deco Aizza MD" -
Edit - Copy
On your work image - Edit -
Paste As New Layer
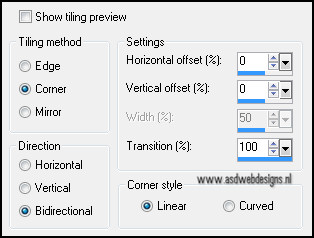
Layers - Arrange - Bring to Top
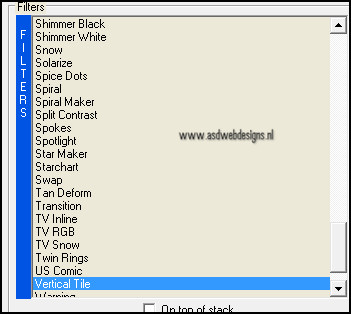
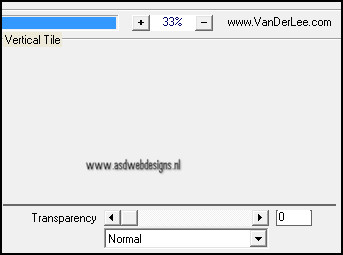
Effects - Plugins – VanDerLee
Unplugged X – Vertical Tile
Layers - Duplicate
Adjust - Blur - Motion Blur - Angle 70
- Strength 51
Layers - Merge - Merge Down
Selection Tool -
Rectangle  - Custom
Selection:
- Custom
Selection: 

Hit the Delete key
on your keyboard
Selections -
Select None
Layer Palette -
Set the Blend Mode of this layer to "Luminance
"
Layers -
Duplicate
Image - Mirror
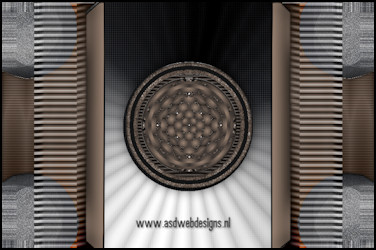
It
looks like this now:
10.
Open Tube "deco2 Aizza MD" -
Edit - Copy
On your work image - Edit -
Paste As New Layer
Effects - Image Effects - Offset
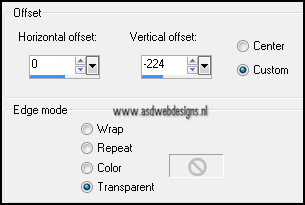
Layer
Palette - Set the Layer Opacity of this layer to
90
11.
Open Tube "SvB (574)" -
Edit - Copy
On your work image - Edit -
Paste As New Layer
Image - Resize - 90% - Resize all layers not
checked
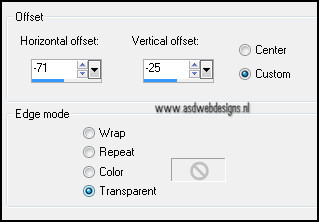
Effects - Image Effects - Offset
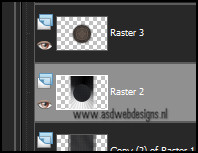
12.
Layer
Palette - Click on the fourth layer from the bottom
(Raster 2)
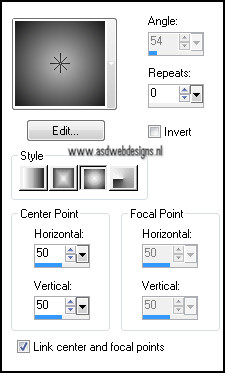
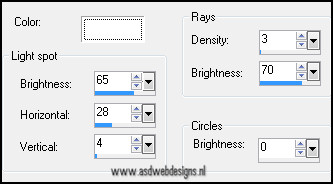
Effects
- Illuminations Effects - Sunburst - Color
#ffffff
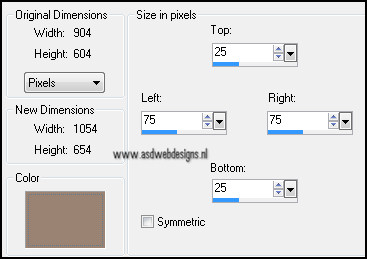
13.
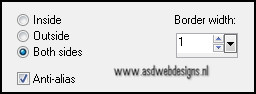
Image -
Add Borders - Symmetric checked - 2 px -
#181819
Layers - Duplicate
Image - Resize - 85% - Resize all
layers not checked
Layer Palette - Click on the Bottom
layer
Adjust - Blur - Radial Blur
14.
Magic Wand Tool  - Mode: Shift/Add - Tolerance 0 -
Contiguous checked - Anti Alias Checked -
Click in the last border
- Mode: Shift/Add - Tolerance 0 -
Contiguous checked - Anti Alias Checked -
Click in the last border
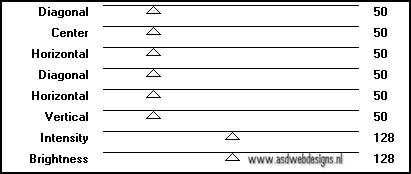
Effects - Plugins – Graphics Plus –
Cross Shadow
Effects - Plugins – Toadies – What
Are You - 20-20
Effects - Edge Effects -
Enhance
Selections - Invert
Effects - Plugins - Alien Skin Eye
Candy 5 - Impact - Perspective Shadow
- Settings Tab: Dropshadow
Blurry.
Selections - Select None
15.
Image - Add Borders - Symmetric
checked - 2 px - #181819
Image - Resize - Width 800 Pixels -
Resize all layers checked
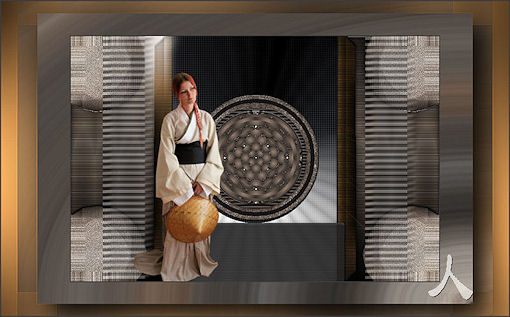
Add your name or
watermark, save as JPG file and you're done!
~°~°~°~°~
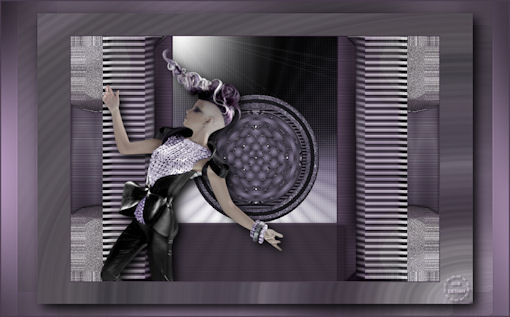
With special thanks to my
testers, this is what they
made:
Tigress:
**
Martalip:
***
Chris:
***
Julie:
**