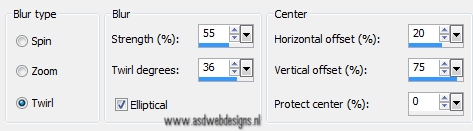
Adjust - Blur - Radial Blur
02
Layers - Duplicate
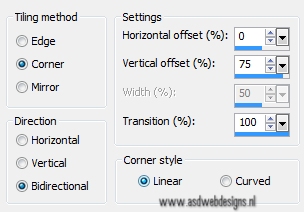
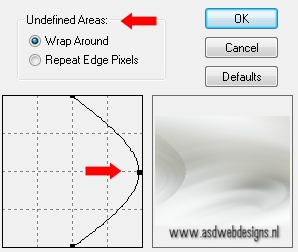
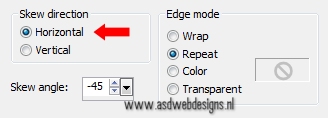
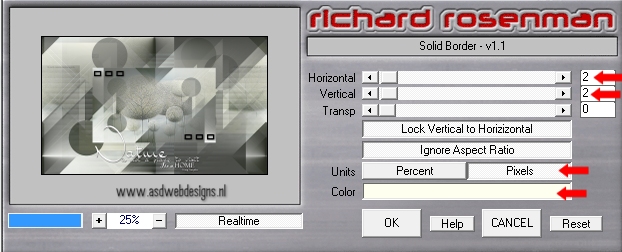
Effects - Plugins - Distort - Shear
- Pull the Vertical Line to the
right
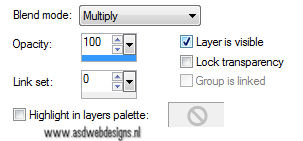
Layer Palette -
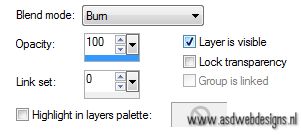
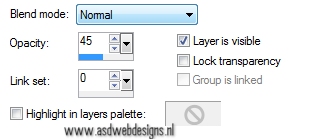
Double click on this Layer and set the Blend
Mode to
"Multiply"
Layers - Merge - Merge
Down
03
Layers - New Raster
Layer
Fill with the Foregroundcolor

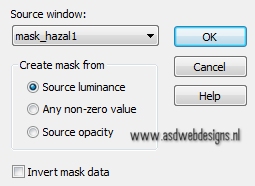
Layers - New Mask Layer - From Image
- mask_hazal1
Layers - Merge - Merge
Group
04
Layers - New Raster Layer
Fill with the Backgroundcolor

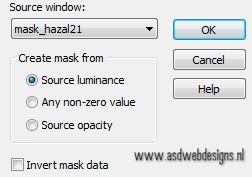
Layers - New Mask Layer - From Image
- mask_hazal21
Layers - Merge - Merge
Group
05
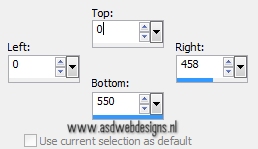
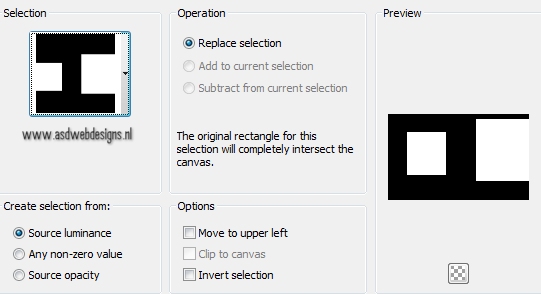
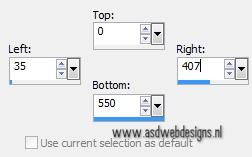
Selection Tool - Rectangle
 - Custom Selection:

Selections - Promote Selection to
Layer
Selections - Select None
Image - Flip
Layer Palette -
Double click on this Layer and set the Blend
Mode to
"Burn"
06
Layer Palette - Click on the Second layer from the
top
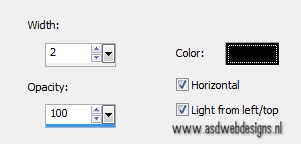
Effects - Texture Effects - Blinds - Color:
#000000 
07
Layers - New Raster
Layer
Selections - Load/Save Selection - Load
Selection From Disk -
MDlessen-selectie127
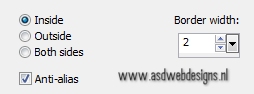
Selections - Modify - Select Selection
Borders
Fill with the Foregroundcolor
Selections - Select None
Effects - Distortion Effects - Wind -
From Right checked - Wind Strength:
100
Layers - Duplicate
Effects - Distortion Effects - Wind - From
Left checked - Wind Strength: 100
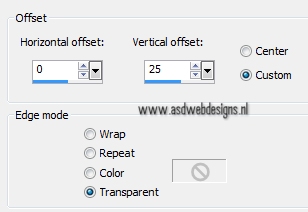
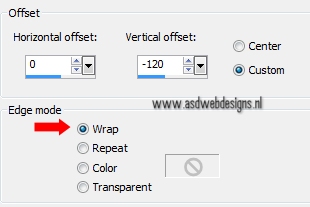
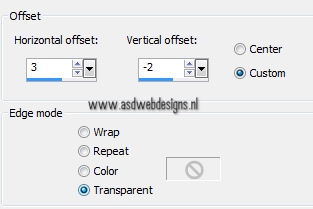
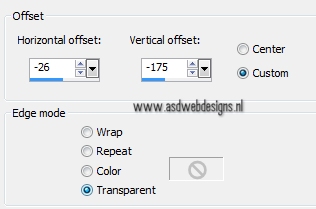
Effects - Image Effects -
Offset
Layers - Merge - Merge
Down
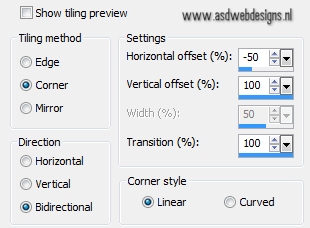
Effects - Image Effects - Seamless
Tiling
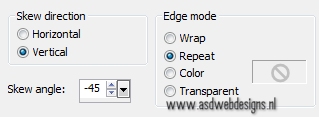
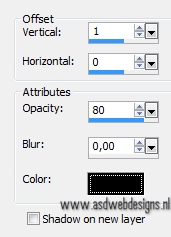
Effects - Geometric Effects -
Skew
08
Layers - Duplicate
Image - Mirror
Layers - Merge - Merge
Down
Layers - Arrange - Move
Down
09
Go back to Tube "TalaNat_paysage_012-27-09-2013"
Edit - Copy
Minimize to tray,
you need it later
On your work image: Edit -
Paste
as New Layer
Effects - Image Effects - Seamless
Tiling
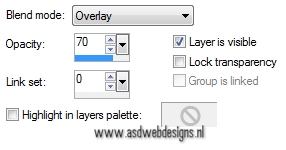
Layer Palette - Double click on this Layer and set
the Blend Mode to
"Overlay" and the Layer Opacity to
70
Layers - Merge - Merge
Visible