Selections - Select All
Open Tube
"Radyga-tubes-misted-0198-1709-2013
BEWERKT"
Edit - Copy
On your work image: Edit -
Paste Into Selection
Selections - Select None
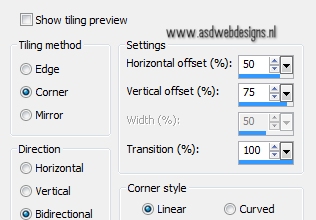
Effects - Image Effects - Seamless
Tiling
Adjust - Blur - Gaussian Blur -
35
02
Layers - Duplicate
Effects - Plugins - VM Toolbox -
Seamless Tile
Effects - Plugins - Simple -
Blintz
Effects - Edge Effects - Enhance
Effects - Image Effects - Seamless
Tiling
03
Layers - Duplicate
Image - Mirror
Image - Flip
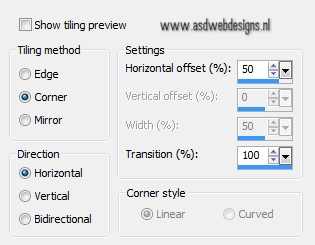
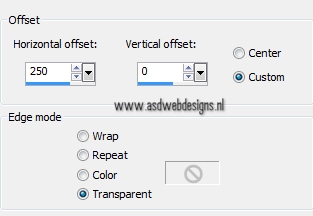
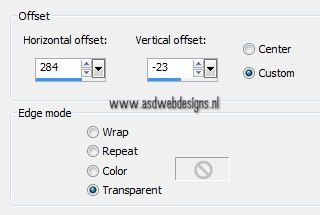
Effects - Image Effects -
Offset
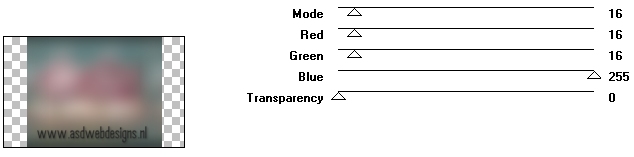
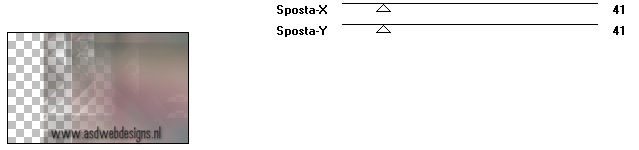
Effects - Plugins - Italian Editors
Effect - Effetto
Fantasma
Adjust - Sharpness - Sharpen
Layers - Merge - Merge Visible
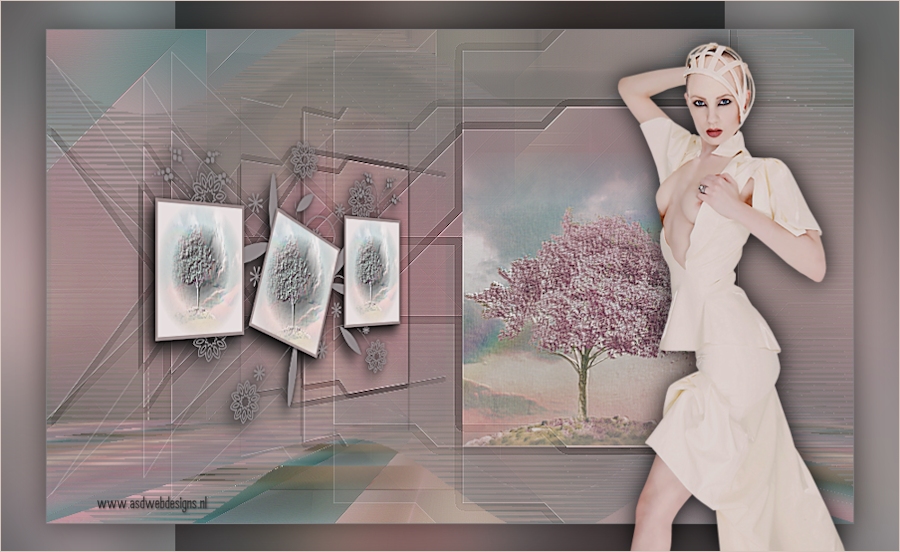
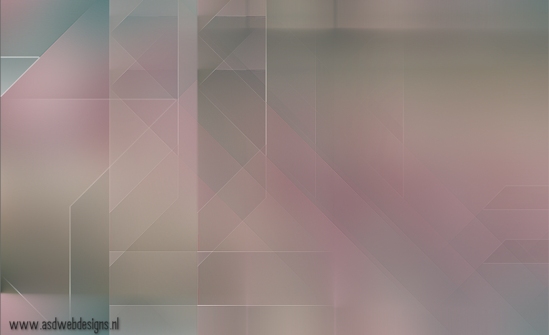
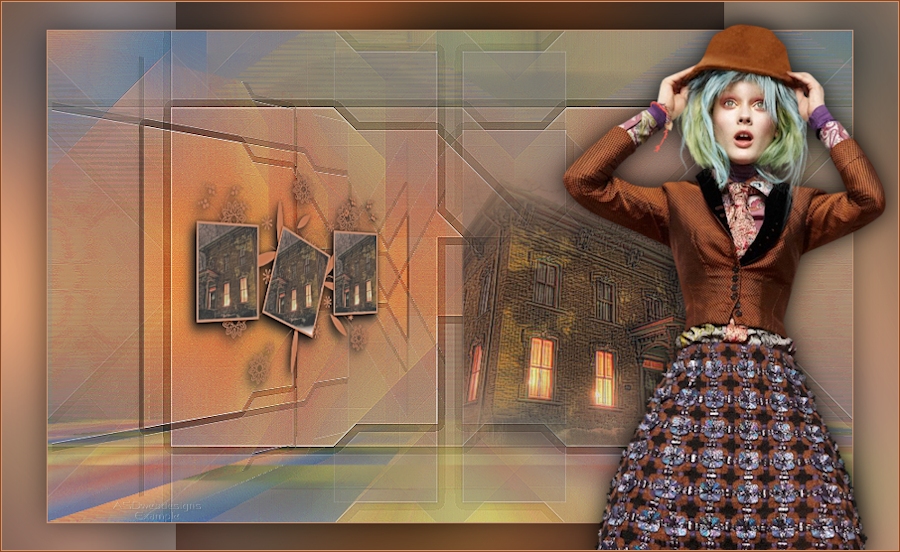
Your work looks like this
now
04
Layers - Duplicate
Image - Resize - 85% - Resize all
layers not checked
Image - Mirror
05
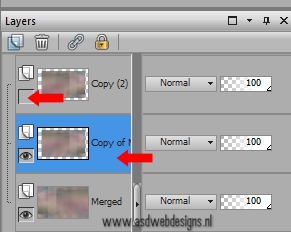
Layers - Duplicate
Layer Palette: Close this layer by
clicking in the little eye
Layer Palette - Click on the middle
layer
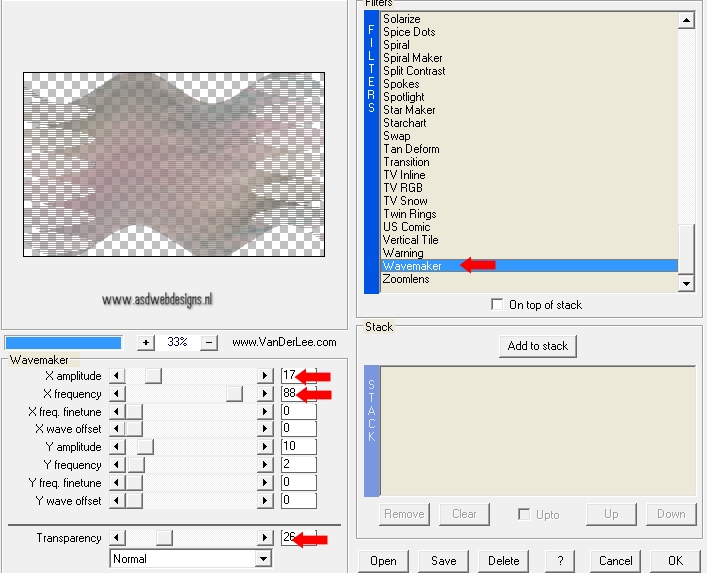
Effects - Plugins - VanDerLee
Unplugged X - Wavemaker
06
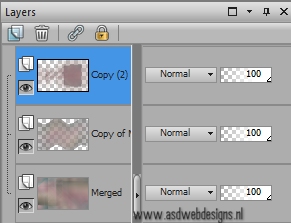
Layer Palette - Click on the top layer and
open it again
Effects - Plugins - Simple - Pizza
Slice Mirror
Effects 3D Effects -
DropShadow - Color: #000000
Effects - Plugins - Italian Editors
Effect - Effetto Fantasma - Same
settings as before (41-41)
Effects - Edge Effects - Enhance
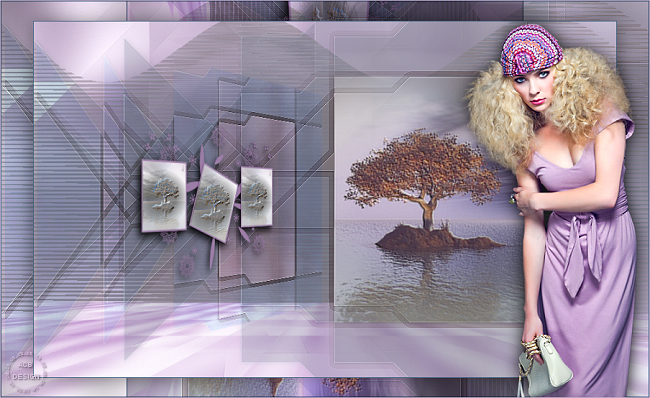
Your work and Layer Palette
look like this now
07
Open Tube "Doodle_Boxes"
Edit - Copy
On your work image: Edit - Paste as
New Layer
Effects - Plugins - Alien Skin Eye
Candy 5 - Impact - Perspective
Shadow - Settings Tab:
Dropshadow, Blurry.
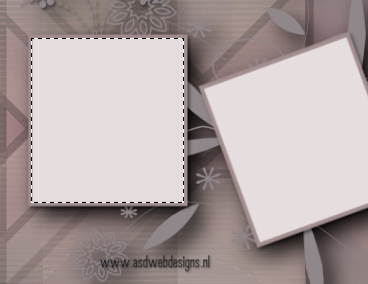
Magic Wand Tool
 - Mode: Add /Shift
- Tolerance 0 - Contiguous checked -
Anti Alias Checked
- Mode: Add /Shift
- Tolerance 0 - Contiguous checked -
Anti Alias Checked
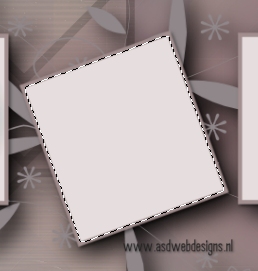
Click in the Left
rectangle
Layers - New Raster Layer
Open Tube
Radyga-tubes-misted-0198-1709-2013" (The
original)
Edit - Copy
Minimize to tray , you need it
later
On your work image: Edit -
Paste Into Selection
Keep Selected
Layers - Duplicate
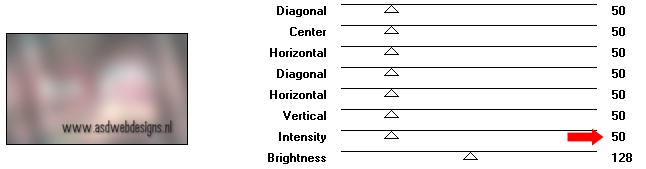
Effects - Texture Effects -
Emboss
Layers - Merge - Merge Down
Selections - Select None
08
Layer
Palette - Click on the Second layer from the top
(The frames)
Magic Wand Tool
- Mode: Add /Shift
- Tolerance 0 - Contiguous checked -
Anti Alias Checked - Click in
the left rectangle:
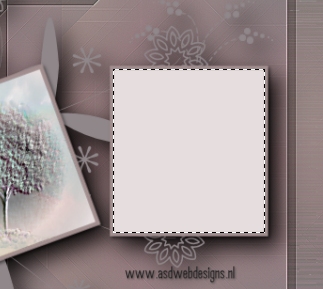
Click in the Middle
Rectangle
Layers - New Raster Layer
On your work image: Edit -
Paste Into Selection (Tube is still
in your PSP memory)
Keep Selected
Layers - Duplicate
Effects - Texture Effects -
Emboss
Layers - Merge - Merge
Down
Selections - Select None
09
Layer Palette - Click on the Third layer from the top
(The frames)
Click in the Right rectangle
Layers - New Raster Layer
On your work image: Edit -
Paste Into Selection (Tube is still
in your PSP memory)
Keep Selected
Layers - Duplicate
Effects - Texture Effects -
Emboss
Layers - Merge - Merge Down
Selections - Select None
Layer Palette -
Click on the top layer
Layers - Merge - Merge Down
Repeat two times
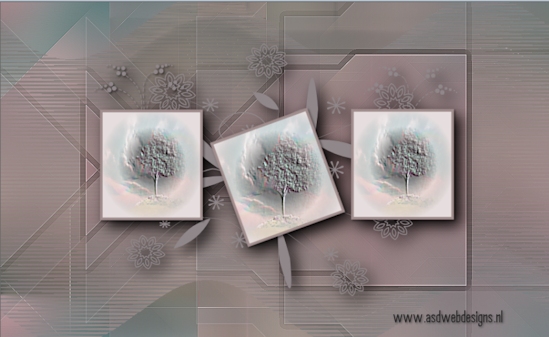
Your work and Layer Palette look
like this now
Image - Resize - 75% - Resize all
layers not checked
11
Layer
Palette - Click on the second layer from the top
Layers - Duplicate
Image - Mirror
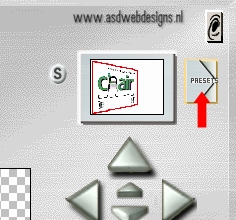
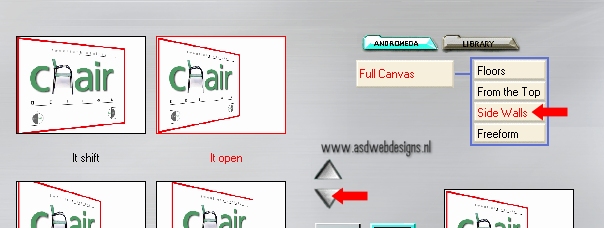
Effects - Plugins - Andromeda -
Perspective
Click on Presets:
Cllick On Side
Walls and next on the arrow for the
next pages
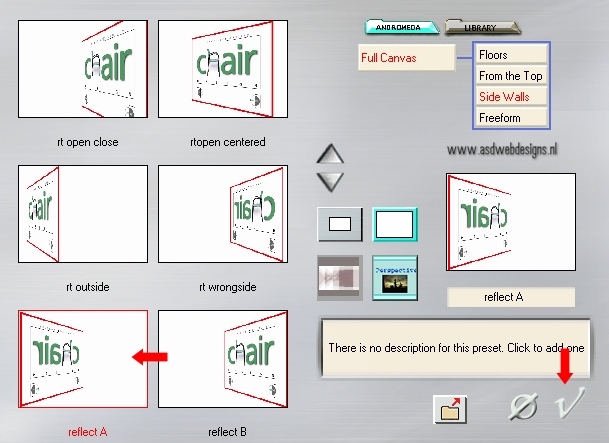
Click on "reflect A" and on
the V at the Bottom right of the
screen:
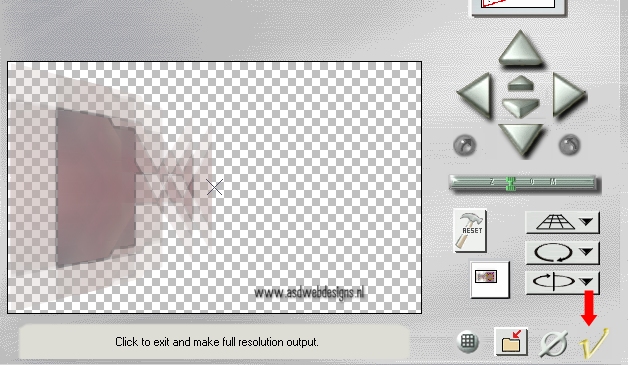
And in the next screen again on the
V at the Bottom right of the
screen:
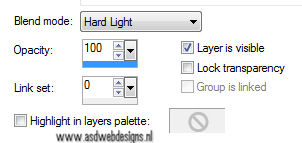
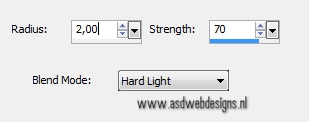
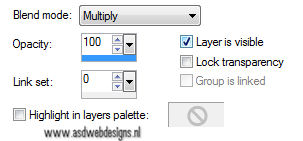
Layer Palette - Double click on this
Layer and set the Blend Mode to
"Hard Light"
12
Layer Palette - Click on the top
layer
Effects - Plugins - Andromeda -
Perspective
Same settings as before
Adjust - Sharpness - High Pass
Sharpen
13
Layer Palette - Click on the Bottom layer
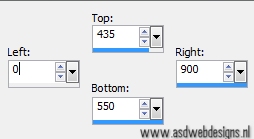
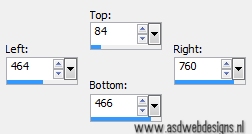
Selection Tool - Rectangle
 - Custom Selection:

Selections - Promote Selection to
Layer
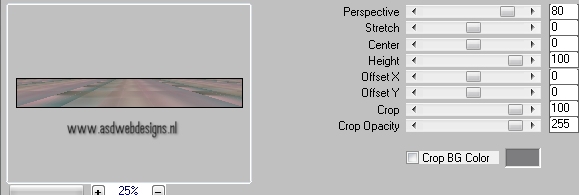
Effects - Plugins -
MuRa's Meister - Perspective
Tiling
Layers -
Arrange - Move Up
Selections - Select None
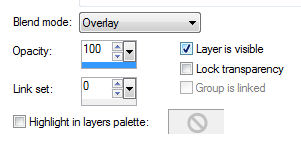
Layers - Duplicate
Layer Palette - Double click on this
Layer and set the Blend Mode to
"Overlay"
14
Layer Palette - Click on
the top layer
Selection Tool - Rectangle
- Custom Selection:
15
Go back toTube
"Radyga-tubes-misted-0198-1709-2013"
Edit - Copy
On your work image: Edit - Paste as
New Layer
Image - Resize - 60% - Resize
all layers not checked
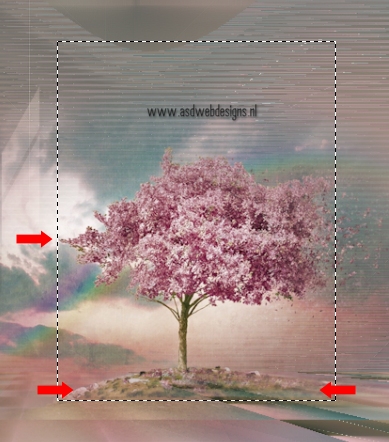
Move into the selection like
this
Selections - Invert
Edit - Cut
Selections - Select None
16
Layers - Duplicate
Effects - Texture Effects -
Emboss
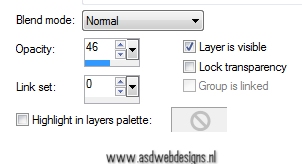
Layer Palette -
Double click on this Layer and set
the Layer Opacity of this layer to
46