Adjust - Blur -
Gaussian Blur - 85
Effects Plugins
– L en K landksiteofwonders – L & K Paris
~°~°~°~°~
02.
Layers - New
Raster Layer
Fill with the
Backgroundcolor
Layers - New
Mask Layer - From Image - Monaiekje mask 29 - Source
Luminance checked - Invert mask data checked
Layers - Merge -
Merge Group
~°~°~°~°~
03.
Layers -
Duplicate
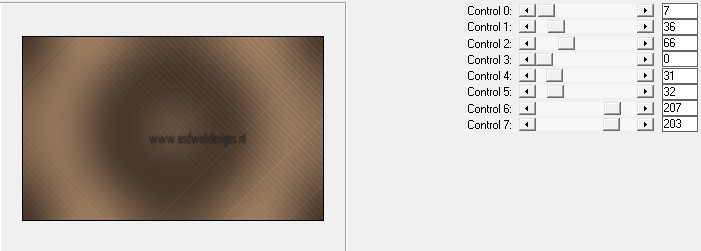
Effects -
Geometric Effects - Skew
Layers -
Duplicate
Effects -
Geometric Effects - Skew
Effects Plugins
– L en K landksiteofwonders – L & K’s Zitah
Layer Palette - Set the Blend Mode of this
layer to "Overlay"
~°~°~°~°~
04.
Layer Palette - Click on the second layer
from the top
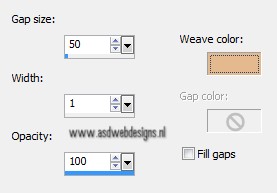
Effects - Texture
Effects - Weave - Weave Color #e5b98e
Adjust -
Sharpness - Sharpen
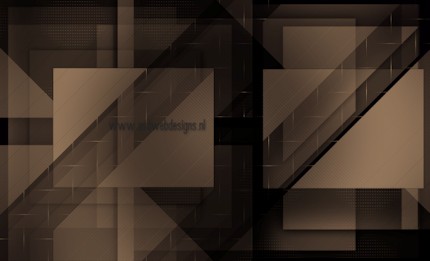
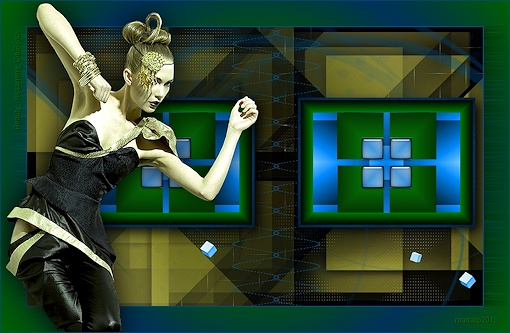
Your work looks
like this now:
~°~°~°~°~
05.
Layer Palette - Click on the top
layer
Layers - New Raster Layer
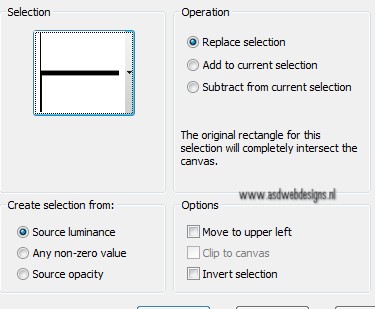
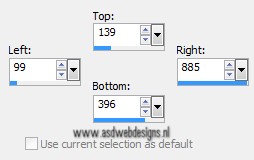
Selection Tool - Rectangle
 - Custom Selection:

Layer - Palette
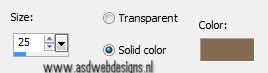
- Set your foregroundcolor back to color and change it to
#7ebdc8
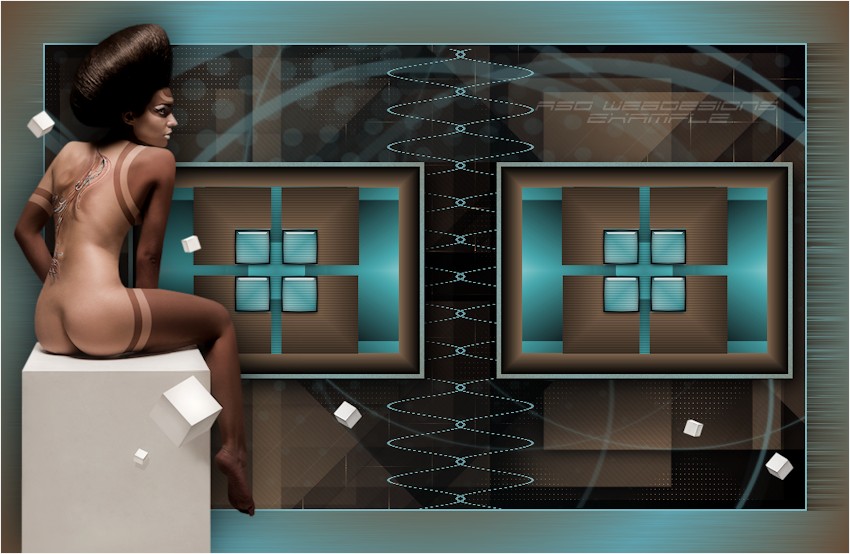
Set the
foreground back the Gradient - Same settings as
before
Fill the selection
with the Gradient
Adjust - Blur -
Gaussian Blur - 50
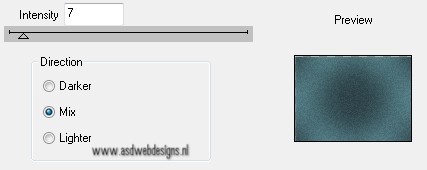
Effects Plugins
– DSB Flux – Bright Noise
Selections -
Modify - Contract -30 px
Open Tube "deco bibiche
MD" -
Edit - Copy
On your work
image - Edit - Paste Into
Selection
Effects 3D Effects - Chisel -
Color #866b53
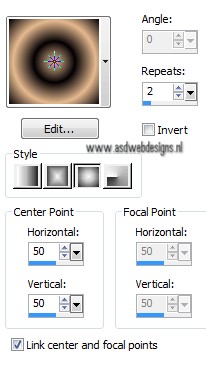
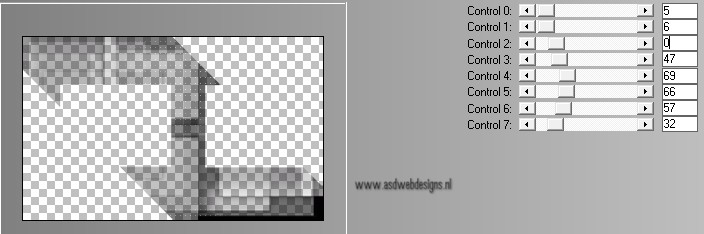
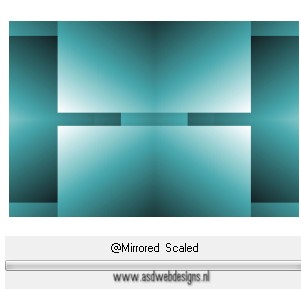
Effects -
Plugins - <I.C.NET Software> Filters Unlimited -
&<Bkg Kaleidoscope> - @Mirrored &
Scaled
~°~°~°~°~
06.
Selections - Load/Save Selection - Load
Selection From Disk -
MDlessen-selectie107
Selections - Modify - Expand - 1 px
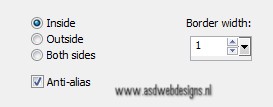
Effects 3D Effects - Buttonize -
Color #866b53
Effects -
Plugins - <I.C.NET Software> Filters Unlimited -
&<Bkg Kaleidoscope> - @BlueBerry Pie
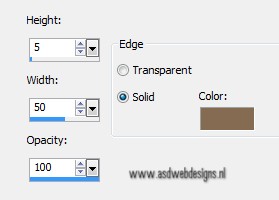
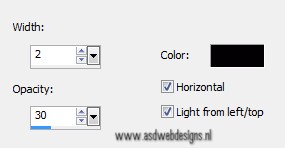
Effects - Texture Effects - Blinds
- Color: #040104
Selections - Select
None
~°~°~°~°~
07.
Selections - Load/Save Selection - Load
Selection From Disk - MDlessen-selectie106 - Same
settings as before
Selections -
Promote Selection to Layer
Effects - Plugins - Alien Skin Eye
Candy 5 - Impact - Glass -
Settings Tab: Click on Factory
Default and next on Preset
Clear
Selections -
Modify - Select Selection Borders
Fill with the
Backgroundcolor
Selections -
Select None
Layers -
Merge - Merge Down
~°~°~°~°~
08.
Layers -
Duplicate
Image -
Mirror ** Users
PSP 14 & 15
( use the new icons you
created!, see the tutorial
here
**
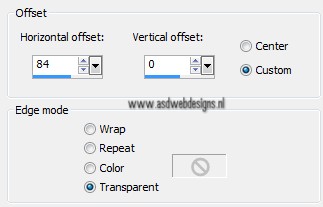
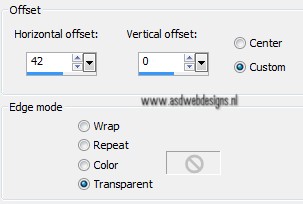
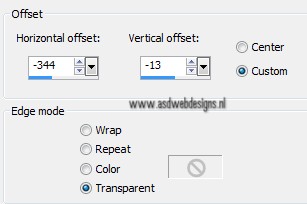
Effects - Image
Effects - Offset
Layers - Merge -
Merge Down
Effects - Plugins - Alien Skin Eye
Candy 5 - Impact - Perspective
Shadow - Settings Tab: Dropshadow,Blurry.
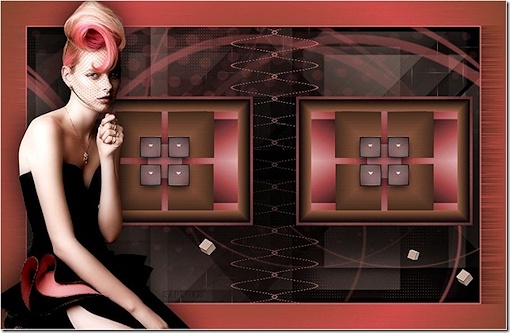
Your work looks
like this now:
~°~°~°~°~
09.
Set your
foregroundcolor back to color
Layers - New
Raster Layer
Fill with the
Foregroundcolor
Layers - New
Mask Layer - From Image - Narah_mask_0349 - Source
Luminance checked - Invert mask data not
checked
Layers - Merge -
Merge Group
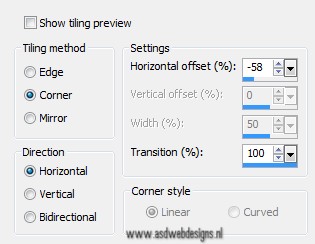
Effects - Image
Effects - Seamless Tiling
Layer Palette - Set the
Layer Opacity of this layer to
40
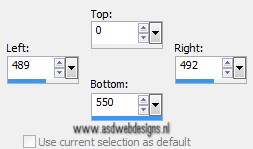
Selection Tool - Rectangle
- Custom Selection:
Edit -
Cut
Selections -
Select None
~°~°~°~°~
10.
Layers - New
Raster Layer
Selection Tool - Rectangle
- Custom Selection:
Fill with the
Foregroundcolor
Selections -
Select None
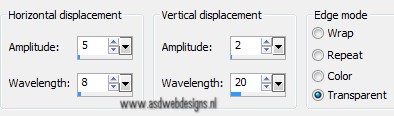
Effects -
Distortion Effects - Wave
Layers -
Duplicate
Image -
Mirror ** Users
PSP 14 & 15
( use the new icons you
created!)
Layers - Merge -
Merge Down
Effects - Image
Effects - Offset
Layer Palette - Set the Layer Opacity of
this layer to 75
Adjust -
Sharpness - Sharpen
Layers - Arrange - Move Down - Repeat
Once
~°~°~°~°~
11.
Change the
Backgroundcolor to #866b53
Set the
Foreground back the Gradient - Same settings as
before
Image - Add Borders - Symmetric
checked - 2 px - Foregroundcolor
Selections -
Select All
Image - Add Borders - Symmetric
checked - 50 px -
Backgroundcolor
Effects 3D
Effects - DropShadow - 5 - 5 - 50 - 30 - #000000
Selections -
Invert
~°~°~°~°~
12.
Layers - New
Raster Layer
Fill the
Selection with the Gradient
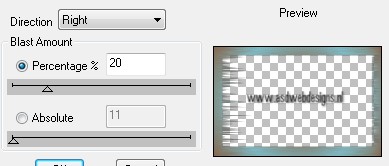
Effects Plugins
– DSB Flux – Blast
Layers -
Duplicate
Selections -
Select None
Image - Flip Horizontal (earlier PSP
versions than 15: Image - Mirror)
Layer Palette - Set the Blend Mode of this
layer to "Multiply" and the Layer Opacity to
50
~°~°~°~°~
13.
Open Tube "Alies 12VR53-woman-24012013" -
Edit - Copy
On
your work image - Edit - Paste As New
Layer
Image -
Mirror ** Users
PSP 14 & 15
( use the new icons you
created!)
Effects - Image
Effects - Offset
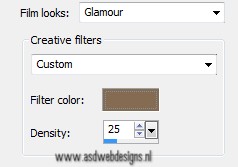
Effects - Photo Effects
- Film and Filters - Color
#866b53
Effects - Plugins - Alien Skin Eye
Candy 5 - Impact - Perspective
Shadow - Settings Tab: Preset
MDlessen-bibiche EC
PS
~°~°~°~°~
14.
Open Tube "deco tube Annelies.psp" -
Edit - Copy
On
your work image - Edit - Paste As New
Layer
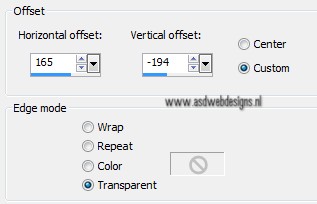
Effects - Image
Effects - Offset
Adjust -
Sharpness - Sharpen
~°~°~°~°~
15.
Image - Add Borders - Symmetric
checked - 1 px - #ffffff
Image - Resize - Width 900 Pixels -
Resize all layers checked
Add
your name or watermark, save as JPG file and you're
done!
If
you wish you can post your result on my Facebook Page