Open a new Black image of 900 x 600
px
Selections -
Select All
Layers - New
Raster Layer
Open Tube "Woman_Femke" -
Edit - Copy
On your work image - Edit -
Paste Into Selection
Selections - Select
None
Effects - Image
Effects - Seamless Tiling - Default settings
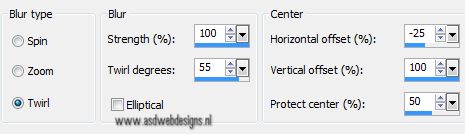
Adjust - Blur -
Radial Blur
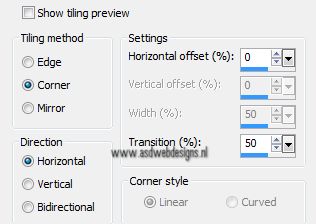
Effects - Image Effects -
Seamless Tiling - Default settings
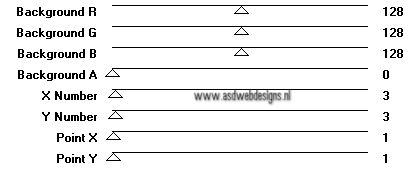
Effects - Plugins
– Filters Unlimited 2.0 – Mock – Windo
Layers - Merge -
Merge all (Flatten)
02.
Layers -
Duplicate
Effects - Plugins
– Mura’s Seamless – Get 1 Tile
Effects 3D
Effects - DropShadow - 0 - 0 - 100 - 50 - #000000
Effects - Edge
Effects - Enhance
Effects - Image
Effects - Seamless Tiling
Effects - Plugins
– Simple – Blintz - Default
03.
Layers -
Duplicate
Image - Flip **
Users PSP 14 & 15 ( use the new icons you created!, see the
tutorial HERE
**
Layer Palette - Set the Blend Mode
of this layer to "Multiply"
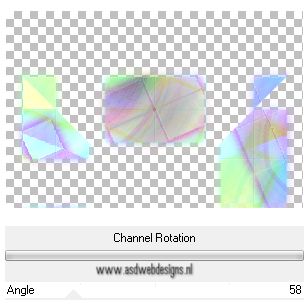
Effects - Plugins
– Filters Unlimited – Color Effects – Channel
Rotation
Effects 3D
Effects - DropShadow - 0 - 0 - 100 - 50 - #000000
Layers - Merge -
Merge all (Flatten)
Effects - Plugins
– Simple – 4 Way Average
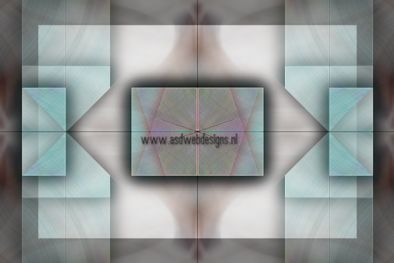
It looks like this
now:
04.
Edit -
Copy
Open a
new Black image of 900 x 600
px
Edit - Paste as
New Layer
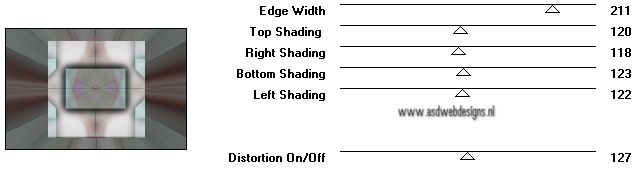
Effects - Plugins
– Filter Factory Gallery B – Button Deluxe
05.
Edit - Paste as
New Layer (Image is still in your PSP memory)
Image - Resize -
75% - Resize all layers not
checked
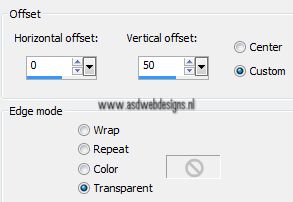
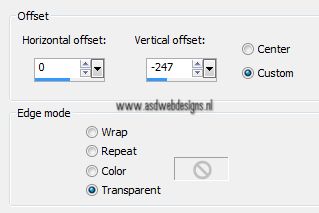
Effects - Image
Effects - Offset
Effects - Plugins
- Alien Skin Eye Candy 5 - Impact -
Perspective Shadow - Settings
Tab: Reflect in Front – Sharp
Effects - Plugins - Alien Skin Eye
Candy 5 - Impact - Glass -
Settings Tab: Click on Factory
Default and next on Preset
Clear
06.
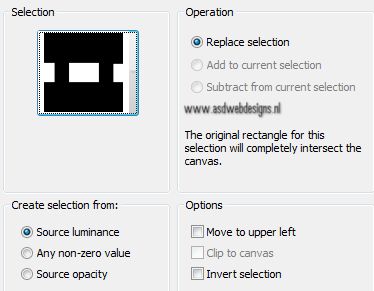
Selections -
Load/Save Selection - Load Selection From Disk
- MDlessen-selectie88
Selections - Promote
Selection to Layer
Effects - Plugins – Fotomatic – Sky
Grad
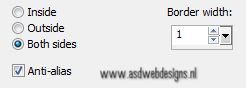
Selections -
Modify - Select Selection Borders
Fill with the
Foregroundcolor
Selections -
Select None
Save as psp file
and set aside for now...
07.
Open mask
Narah_mask_0252 in PSP
Window - Duplicate
(or shift+D) - Close the original and
proceed on the copy
Layers - Promote
Backgroundlayer
Effects - Plugins
– Transparency – Eliminate Black
Edit -Copy
08.
Go back to your
work image
Edit - Paste as
New Layer
Image - Resize -
45% - Resize all layers not
checked
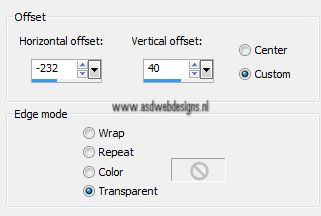
Effects - Image
Effects - Offset
09.
Layers -
Duplicate
Image - Mirror **
Users PSP 14 & 15 ( use the new icons you
created!)
Layers - Merge -
Merge Down
Effects - Plugins
- Alien Skin Eye Candy 5 - Impact -
Perspective Shadow - Settings
Tab: Dropshadow, Lowest.
10.
Go back to Tube
"Woman_Femke" - Edit - Copy
On your work image -
Edit - Paste As New Layer
Image - Resize - 88%
- Resize all layers not checked
11.
Open Wordart Tube "tekst
mika MD" - Edit - Copy
On your work image -
Edit - Paste As New Layer
Effects - Image
Effects - Offset
Layers - Arrange -
Move Down
Layer Palette -
Set the Blend Mode of this layer to "Dodge" and
the Layer Opacity to 35
12.
Image - Add
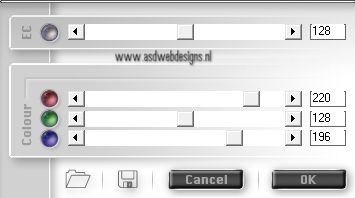
Borders - Symmetric checked - 1 px -
Foregroundcolor
Image - Add
Borders - Symmetric checked - 50 px -
Backgroundcolor
Image - Add Borders - Symmetric
checked - 1 px - Foregroundcolor
Magic Wand Tool  - Mode: Shift/Add -
Tolerance 0 - Contiguous checked -
Anti Alias Checked - Click in
the 50 px border
- Mode: Shift/Add -
Tolerance 0 - Contiguous checked -
Anti Alias Checked - Click in
the 50 px border
Selections - Promote Selection to
Layer
Effects - Plugins
– Filter Factory Gallery B – Button Deluxe - Same settings as
before
Effects - Edge
Effects - Enhance More
13.
Selections -
Select All
Selections -
Modify - Contract - 50
Effects 3D Effects - DropShadow - 0 - 0
- 100 - 50 - #000000
Selections -
Select None
Layers - Merge -
Merge all (Flatten)
14.
Image - Resize - Width 800 Pixels
- Resize all layers
checked