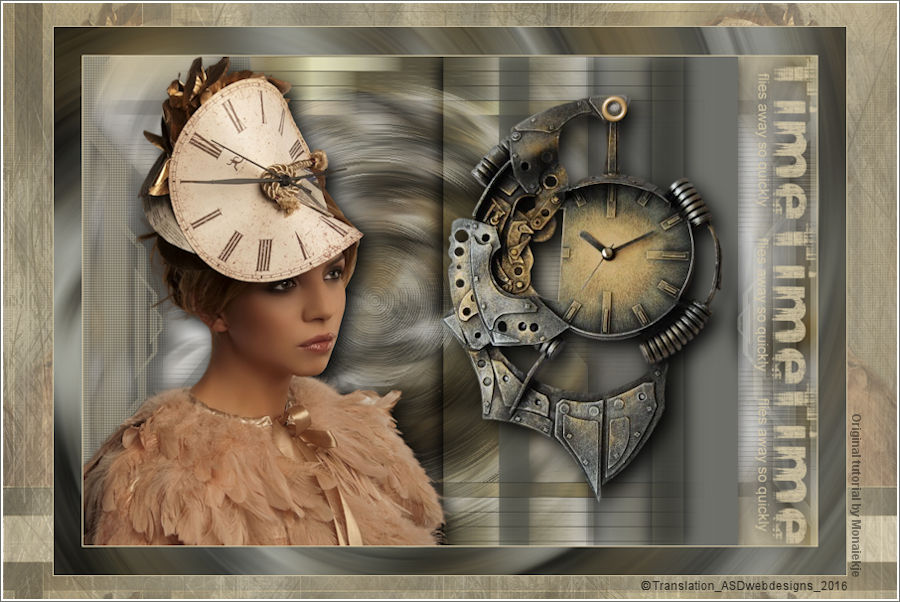
The tutorial:
01
Open a new
transparent image of 900 x 600 px
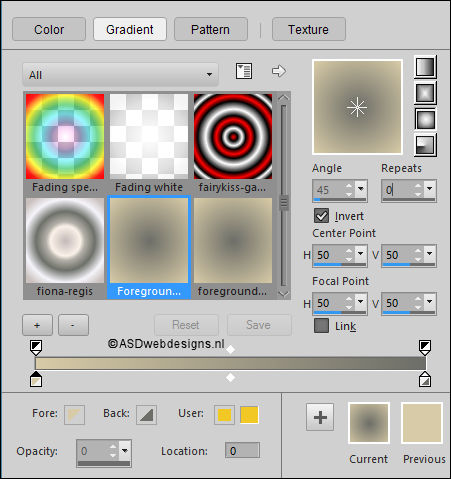
Fil with the
Gradient 
Effects - Distortion Effects -
Pixelate
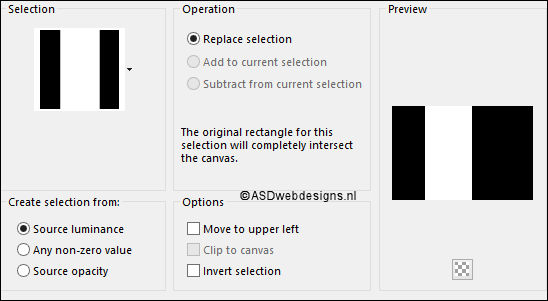
Selections
- Load/Save Selection - Load Selection From Disk -
MDlessen-selectie-61
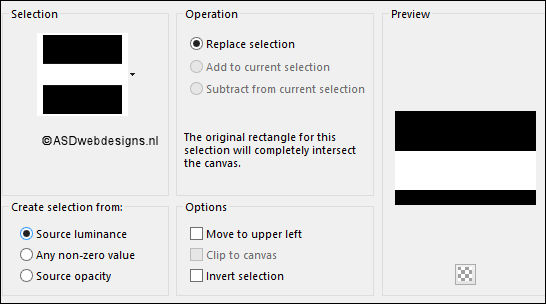
Selections
- Promote Selection to Layer
Maximize Image
Paper MD from
tray
Note: If
you are using an Image of your own the result may
be different, if you want the
same result
you can use this tube for this
step. You can colorize it to match your
work.
Edit - Copy
Minimize to tray, you need it again
On your work image: Edit - Paste
Into Selection
Selections
- Select None
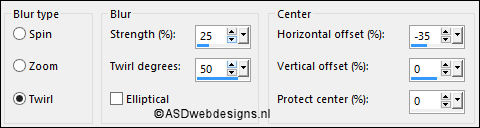
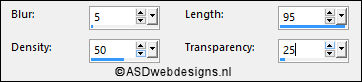
Adjust
- Blur - Radial Blur
02
Layers
- Duplicate
Image
- Mirror - Mirror Vertical ( Image - Flip in previous PSP
Versions)
Layers
- Merge - Merge Down
03
Layers
- Duplicate
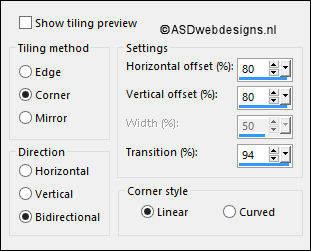
Effects
- Image Effects - Seamless Tiling - Preset Stutter
Diagonal
04
Layers
- Duplicate
Image
- Mirror - Mirror Vertical ( Image - Flip in previous PSP
Versions)
Layers
- Merge - Merge Visible
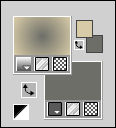
05
Color Palette: Set the Foreground
Gradient back to Color 
Layers
- New Raster Layer
Fill with the Foregroundcolor
Selections
- Select All
Selections - Modify - Contract - 75 px
Edit -
Cut (Or hit the Delete Key of your Keyboard)

Selections
- Invert
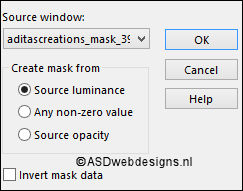
Layers - New
Mask Layer - From Image -
aditascreations_mask_39
Layers - Merge -
Merge Group
Selections
- Invert
Effects - 3D Effects - Drop Shadow
- Vertical 5 - Horizontal 5 -
Opacity 50 - Blur - 25 -
Color - #000000 
Repeat with
the Vertical and Horizontal Offset to Minus
5
Selections
- Select None
06
Layers
- New Raster Layer
Fill
with the Backgroundcolor  (Right Mouse Click)
Layers - New
Mask Layer - From Image -again
aditascreations_mask_39
Layers - Merge -
Merge Group
Effects - 3D Effects - Drop Shadow
- Vertical Minus
5 -
Horizontal Minus
5 - Opacity
50 - Blur - 25 - Color -
#000000
Repeat with the Vertical and
Horizontal Offset to 5
07
Layers
- Duplicate
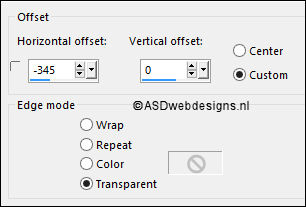
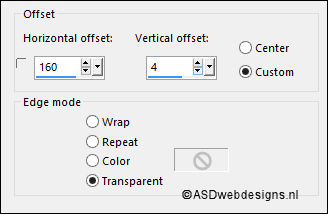
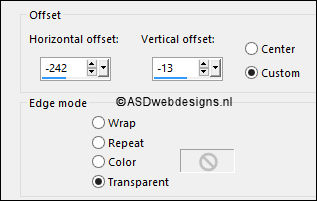
Effects
- Image Effects - Offset
Layers
- Duplicate
Image
- Mirror - Mirror Horizontal ( Image - Mirror in previous PSP
Versions)
Layer Palette - Double click on this
Layer and set the Blend Mode to
"Overlay"
08
Layer
Palette - Click on the Second Layer from the Top (Copy of Group
- Raster 1)
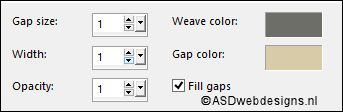
Effects
- Texture Effects - Weave - Weave Color #6d6e68
- Gap Color #d8cba7
Layers
- Merge - Merge Down
09
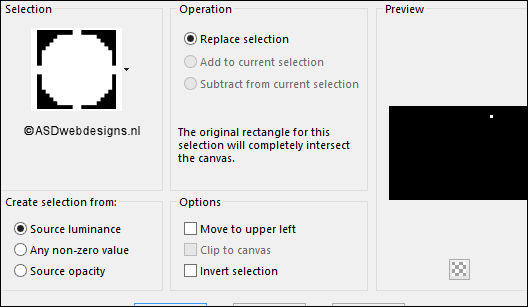
Selections
- Load/Save Selection - Load Selection From Disk -
MDlessen-selectie-63
Edit - Cut
Edit - Paste As New
Layer
Selections - Select None
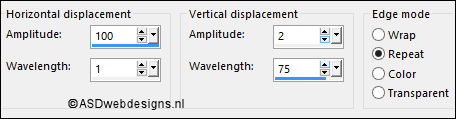
Effects
- Distortion Effects - Wave
Layers - Arrange - Move Down
Edit - Repeat Move Layer Down
Layer Palette - Double click on this
Layer and
set the Opacity of this Layer to
30
10
Layer
Palette - Click on the Bottom Layer (Merged)
Selections
- Load/Save Selection - Load Selection From Disk - again
MDlessen-selectie-63
Selections
- Promote Selection to Layer
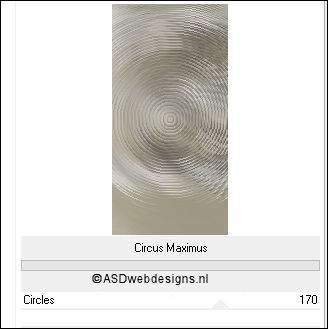
Effects - Plugins - <I.C.NET
Software> - Filters
Unlimited 2.0 -&<BKg Designer sf10
I> –
Circus Maximus
Layer Palette - Double click on this
Layer and set the Blend Mode to
"Multiply"
Layers -
Duplicate
Layer Palette - Double click on this
Layer and set the Blend Mode to "Overlay" and the Layer
Opacity to 45
Selections - Select None
11
Layer
Palette - Click on the Third Layer from the Top (Group - Raster
1)
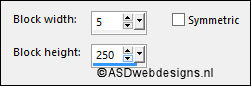
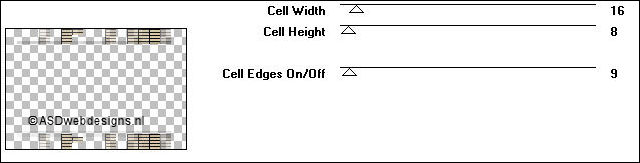
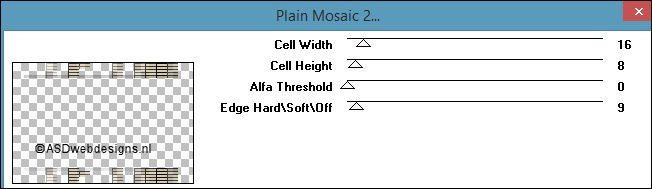
Effects - Plugins - Toadies - Plain
Mosaic ( By some versions it is Plain Mosaic 2, if so use the
settings of the second print
screen)
Effects
- Distortion Effects - Wind - From Right checked
- Wind Strength: 100
Layers
- Merge - Merge Visible
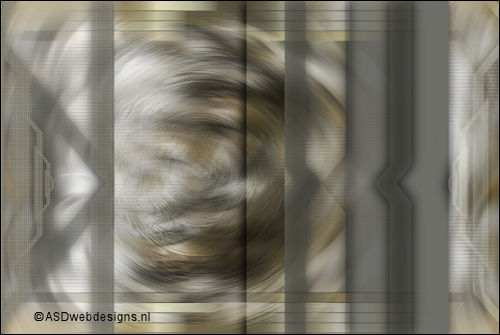
Your
work looks like this now:
12
Layer Palette - Click on the Top
Layer
Maximize Tube
"Liza tube
klok" from tray
Edit - Copy
On your work image: Edit - Paste
As New Layer
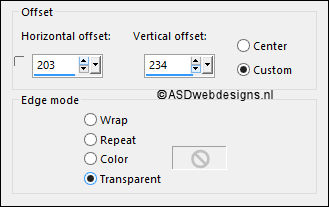
Effects
- Image Effects - Offset
Effects - Plugins - Alien Skin Eye
Candy 5 - Impact - Perspective
Shadow - Settings Tab:
Preset Dropshadow,
Blurry
13
Maximize Tube
"Ringetje" from
tray
Edit - Copy
On your work image: Edit - Paste
As New Layer
Effects
- Image Effects - Offset
Adjust -
Hue and Saturation - Colorize - Hue 26 -
Saturation 96 or play with the settings to match your
tube
14
Layers
- New Raster Layer
Selections
- Load/Save Selection - Load Selection From Disk -
MDlessen-selectie-62
Effects
- 3D Effects - Inner Bevel

Selections
- Select None
15
Maximize Tube
"MR_Time
Hat" from
tray
Eraser Tool, remove the
Watermark

Edit - Copy
On your work image: Edit - Paste
As New Layer
Image - Resize - 70% - Resize
all Layers not checked
Image
- Mirror - Mirror Horizontal ( Image - Mirror in previous PSP
Versions)
Effects
- Image Effects - Offset
Effects - Plugins - Alien Skin Eye
Candy 5 - Impact - Perspective
Shadow - Settings Tab:
Preset Dropshadow,
Blurry
16
Image -
Add Borders - Symmetric checked - 1 px -
Foregroundcolor
Selections - Select
All
Image -
Add Borders - Symmetric checked - 35 px -
Backgroundcolor
Selections -
Invert
Layers
- New Raster Layer
Maximize "Paper MD" from tray
Edit - Copy
Minimize to tray, you
need it again
On your work image: Edit - Paste
Into Selection
Adjust
- Blur - Radial Blur
Layer Palette - Double click on this
Layer and set the Blend Mode to
"Multiply"
Layers - Duplicate
Layer Palette - Double click on this
Layer and set the Blend Mode to "Overlay" and the Layer
Opacity to 55
Selections - Select None
17
Image -
Add Borders - Symmetric checked - 1 px -
Foregroundcolor
Layers - New Raster Layer
Maximize Tube
"Time flies away so
quickly" from tray
Export as Custom Brush ( File - Export - Custom Brush,
name it TimeFlies, click on ok)
Paint Brush Tool  - "TimeFlies" - Size: 200
- Step: 32 - Density:
100 - Rotation: 90
- "TimeFlies" - Size: 200
- Step: 32 - Density:
100 - Rotation: 90

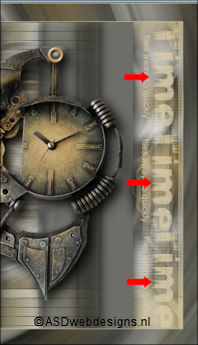
Stamp 3 times with the Foregroundcolor on the Right side
of your Image like this:
Effects - 3D Effects - Drop Shadow
- Vertical 0 - Horizontal 0 -
Opacity 80 - Blur - 40 -
Color - #000000
Layers
- Merge - Merge all (Flatten)
18
Image -
Resize - Width 800 Pixels - Resize all Layers
checked
Edit - Copy
Save as PSP file in
case PSP shut's down
Maximize "Paper MD" from tray
Window - Duplicate (or
shift+D) - Close the original and proceed on the
copy
Layers - New Raster Layer
Fill
with the Foregroundcolor
Layer Palette - Double click on this
Layer and
set the Opacity of this Layer to
70
Layers
- Merge - Merge Down
Effects
- Texture Effects - Fur
Edit - Paste As New Layer (Image is
still in your PSP memory)
19
Layers - Duplicate
Effects
- Image Effects - Seamless Tiling
Layers - Arrange
- Move Down
Layers - Duplicate
Image -
Mirror - Mirror Horizontal (
Image - Mirror in previous PSP
Versions)
Layers
- Merge - Merge Down
Layer Palette - Double click on this
Layer and set the Blend Mode to "Multiply" and the Layer
Opacity to 45
20
Image -
Add Borders - Symmetric checked - 2 px -
#ffffff 
Image -
Add Borders - Symmetric checked - 1 px -
#6d6e68
Image - Resize - Width 900
Pixels - Resize all Layers checked
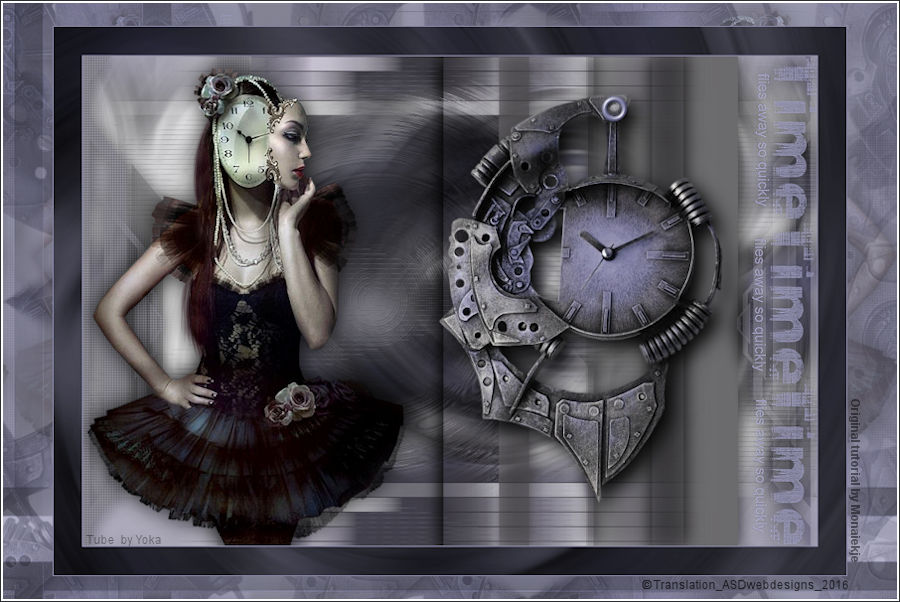
Add your name or
watermark, save as JPG file and you're
done!
If you wish you can
post your result on my Face book Page