03.
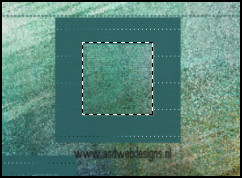
Selection Tool -
Rectangle - Mode: Add (Shift)
Make a selection in the top
square like this:
04.
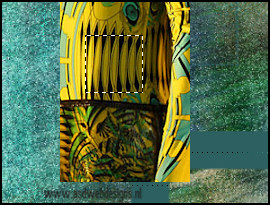
Open tube "paspoppen
13-9-2011" - Click on raster 1
Selection Tool -
Rectangle - Custom Selection:

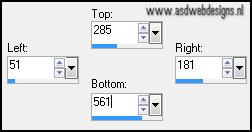
Edit - Copy
05.
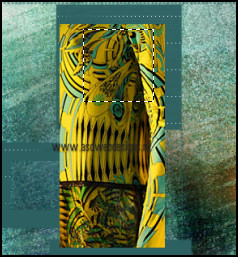
Go back to your work image -
Edit paste as new layer
Move like this:
Selections -
Invert
Hit the delete key of
your keyboard
Selections - Select
None
06.
Selection Tool -
Rectangle - Mode: Add (Shift)
Make a selection in
second square like this:
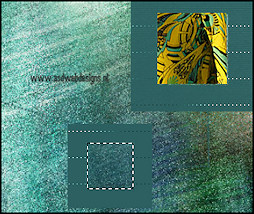
Edit paste as new layer ( tube
is still in your PSP memory)
Move like this:
Selections -
Invert
Hit the delete key of
your keyboard
Selections - Select
None
07.
Selection Tool -
Rectangle - Mode: Add (Shift)
Make a selection in third
square like this
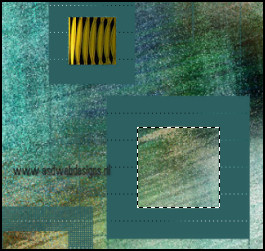
Edit paste as new layer ( tube
is still in your PSP memory)
Move like this:
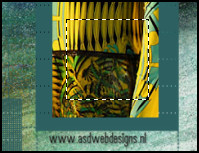
Selections -
Invert
Hit the delete key of
your keyboard
Selections - Select
None
08.
Selection Tool -
Rectangle - Mode: Add (Shift)
Make a selection in last
square like this:
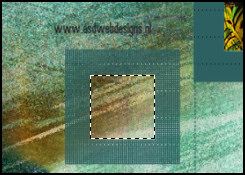
Edit paste as new layer ( tube
is still in your PSP memory)
Move like this:
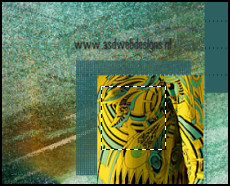
Selections -
Invert
Hit the delete key of
your keyboard
Selections - Select
None
Layers - Merge -
Merge Down - Repeat twice
Effects - 3D Effects
- Inner Bevel
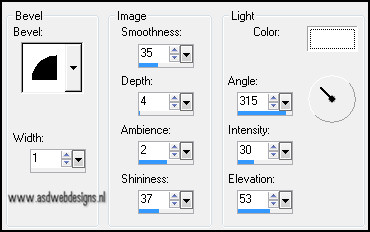
Layers - Merge -
Merge Down
Effects 3D
Effects - Dropshadow - 8 - 8 - 75 - 5 - #000000
09.
Layer Palette - Click
on the Bottom layer
Effects - Plugins
- Tramages - Tow the line

10.
Layer Palette - Click
on the top layer
Layers -
Duplicate
Image - Mirror
Effects - Distortion
Effects - Wind - From Right checked - Wind
Strength: 100
Effects - Plugins -
Carolaine and Sensibility –
CS_Ldots

Layer Palette - Set
the Layer Opacity of this layer to 85
11.
Layers -
Duplicate
Effects - Plugins
- Vanderlee - Unplugged X -
Spiral
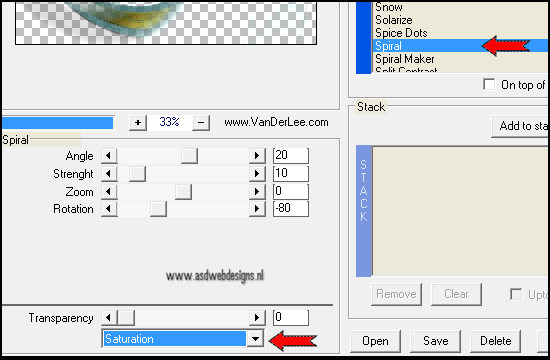
Layer Palette - Set
the Blend Mode of this layer to "Screen"
Effects - Plugins
- VM Natural - Splash
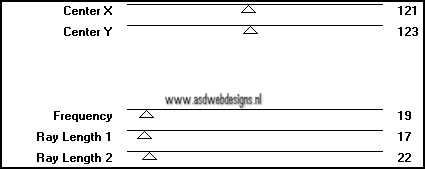
12.
Go back toTube "Liza tube
paspoppen 13-9-2011"
Selections - Select None
Copy and paste as new
layer on your image.
Image - Resize - 75% - Resize
all layers not checked
Effects - Plugins -
Vanderlee - Unplugged X - Spiral
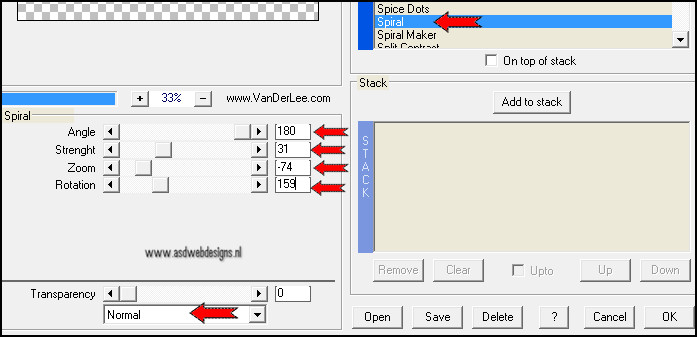
Image - Resize - 35% - Resize
all layers not checked
Effects - Plugins -
Mura's Meister - Copies
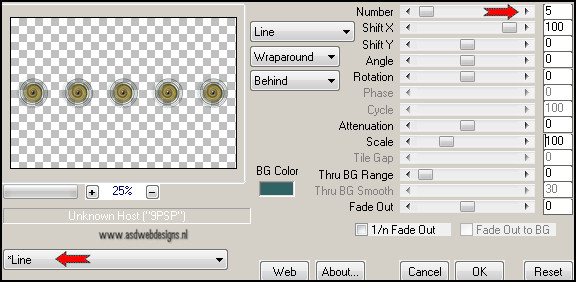
Image - Free Rotate
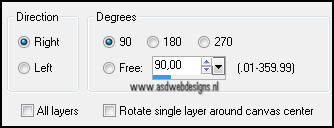
Effects - Image Effects -
Offset
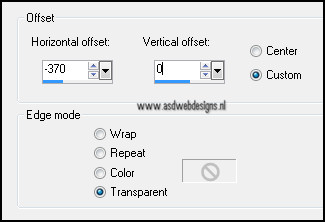
Effects 3D Effects -
Dropshadow - 8 - 8 - 75 - 5 - #000000
Effects 3D Effects - Dropshadow - Minus 8 -
Minus 8 - 75 - 5 - #2f6364
Adjust - Sharpness -
Sharpen
13.
Pen Tool  with these settings - Linestyle: Dot


Draw a line between the
squares...like this: hold down your shift key to draw a straigth
line
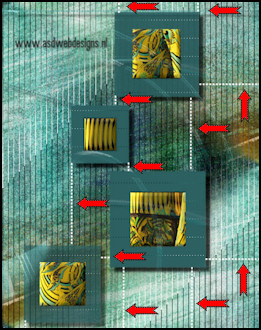
Layers - Convert to Raster
Layer
Layers - Duplicate
Layers - Mere - Merge
Down
14.
Pen Tool  with these settings
Draw a line between the
curls...like this: hold down your shift key to draw a straith
line
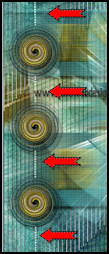
Layers - Convert to Raster
Layer
Layers - Duplicate
Layers - Mere - Merge
Down
15.
Image - Add Borders - Symmetric
- 1 px - #2f6364
Image - Add Borders - Symmetric
- 25 px - #ffffff
Magic Wand Tool -
Mode: Shift/Add - Tolerance 0 - Contiguous
checked - Anti Alias Checked - Click
in white border
Selections - Invert
Effects - Plugins -
Xero - Porcelain
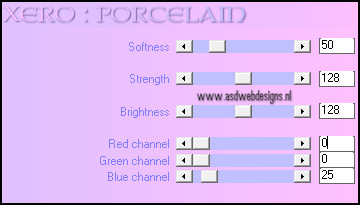
16.
Selections - Invert
Effects - Plugins -
VM Natural - Splash -
Default
Effects - Plugins -
Xero - Porcelain - same settings
Effects - Plugins -
Carolaine and Sensibility –
CS_Ldots

Selections - Select
None
Go back toTube "Liza tube
paspoppen 13-9-2011" - Copy and paste as new layer on your
image.
Image - Resize - 80% - Resize
all layers not checked
Image - Mirror
Effects - Image Effects -
Offset
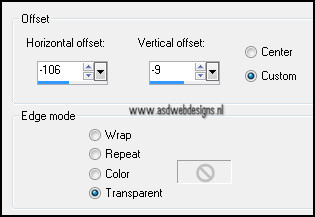
Effects 3D Effects -
Dropshadow - Minus 10 - Minus 10 - 65 - 25 - #000000
Image - Add Borders - Symmetric
- 1 px - #2f6364
Image - Resize - Width 800
Pixels - Resize all layers checked
Add your name or watermark, save
as JPG file and you're done!