Layers - New Raster Layer
Set
your background
pattern back to
color
Fill
with the
backgroundcolor
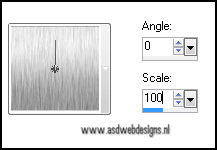
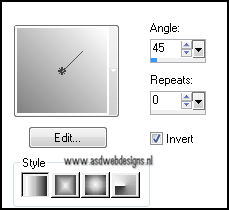
Effects - Plugins - Graphic
Plus - Cross Shadow
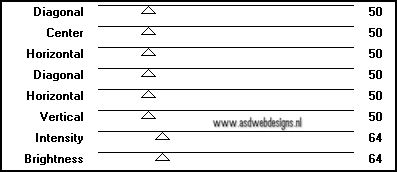
Effects - Plugins -
Funhouse -
Maelström - Same
settings as
before
Layer Palette - Set the Layer
Opacity of this layer to
50
Layers - Merge - Merge
Down
Selection Tool -
Rectangle -
Selection Type:
Circle - Mode:
Replace -
Feather 0
Start
in the middle and Make
a selection like
this:

03.
Layers - New
Raster Layer
Open
Tube "HJR_GearWallClock_24Mrt2007" -
Copy and paste into the
selection
Keep
selected
Layer Palette - Set the Blend Mode
of this layer to "Luminance
(Legacy)
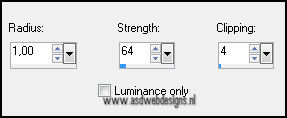
Effects - Edge Effects -
Enhance
Selections - Modify - Select
Selection Border
Set your
foregroundcolor
to Foreground/Background
Gradient
(Corel_06_029) -
Style: Linear
Fill
the selection with
the gradient
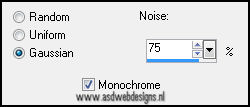
Adjust - Add/Remove Noise - Add
Noise
Selections - Select None
Effects 3D Effects -
Dropshadow - 10 - Minus 10 - 65 - 35
- #000000
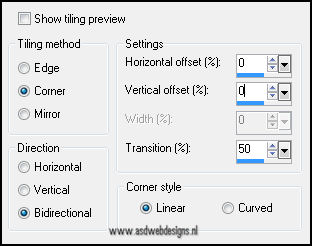
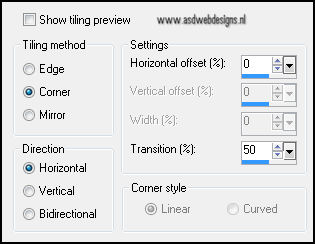
Effects - Image Effects - Seamless
Tiling
Move to the top
of the image:
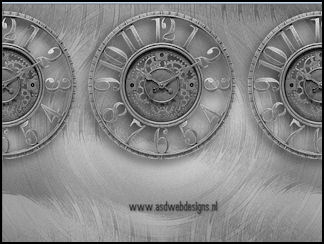
04.
Layer Palette - Click on the Bottom
layer
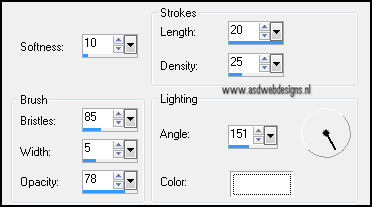
Effects - Art
Media Effects -
Brush Strokes -
Color #ffffff
Layers - Merge - Merge all
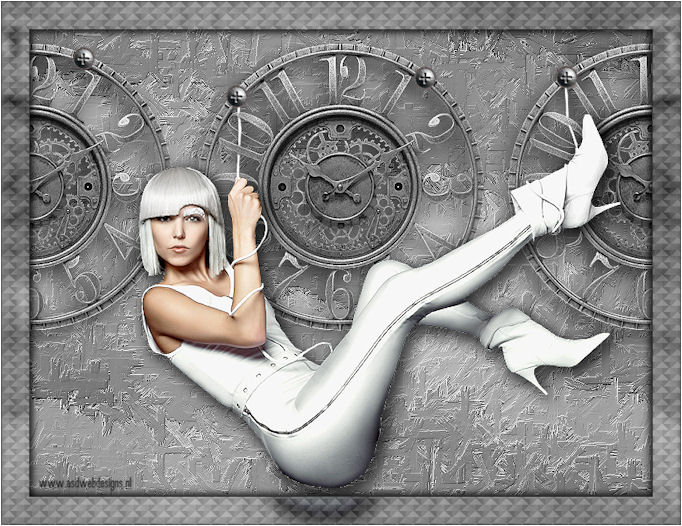
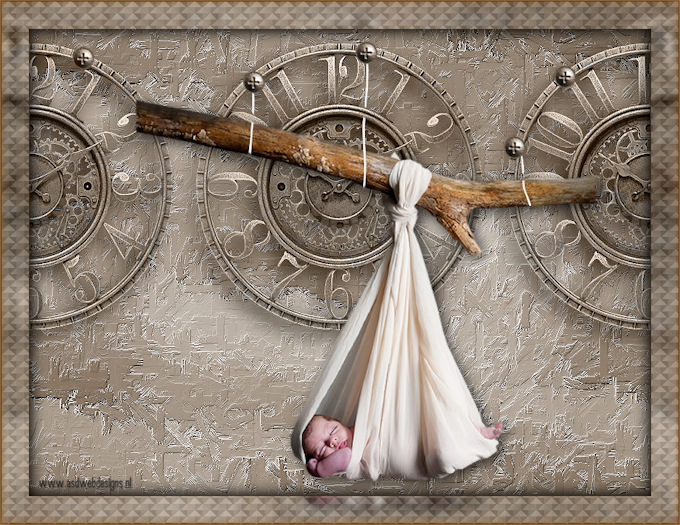
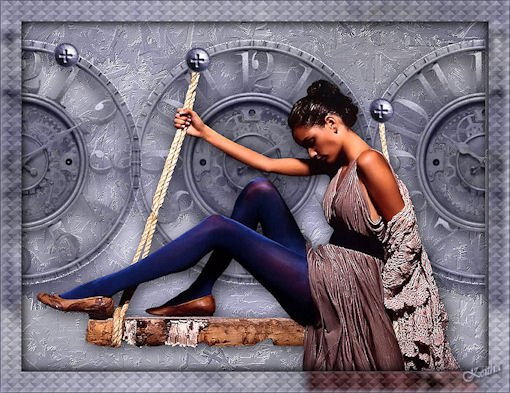
05.
Open Tube
"tubeclaudiaviza-mujer1695" - Copy and
paste as new layer on your
image.
Image - Resize - 120% - Resize all
layers not checked
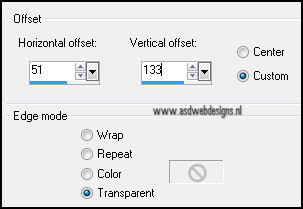
Effects - Image Effects -
Offset
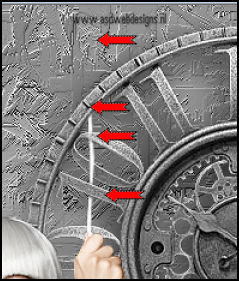
Eraser
Tool - Shape: Round - Size 10
Remove
parts of the string to
make it look
like she is
hanging on the
clock:
Do the same at
her foot:
Effects 3D Effects -
Dropshadow - 5 - 5 - 65 - 25 -
#000000
Adjust
- Sharpness -
Sharpen
06.
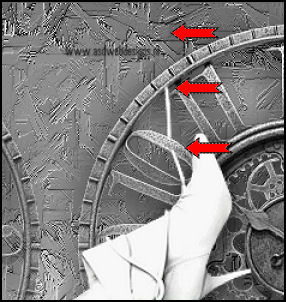
Open Tube "liaschroef" - Copy
and paste as new layer on your
image.
Image - Resize - 65% - Resize all
layers not checked
Move to
the clock , like
this:
Layers
- Duplicate -
Repeat Twice
Move
the 3 screws
like this

07.
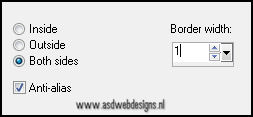
Image - Add
Borders -
Symmetric -
1 px - #808080
Edit -
Copy
Image - Add Borders - Symmetric
- 35 px -
#ffffff
Image - Add Borders - Symmetric
- 1 px -
#808080
Magic Wand Tool -
Mode: Shift/Add - Tolerance
0 - Click in the
white border
Edit -
Paste into the
selection
Adjust - Blur - Gaussian Blur -
5
Effects - Plugins - Graphic
Plus - Cut Glass: