
By Meetjes Plekje
Click
HERE for the
original tutorial
Materials

Plugins:
Alien Skin
Eye Candy 5 / Impact / Extrude /
Glass
AAA
Multifilter
Preparations:
Copy the
selection file to the Selection folder of
PSP
Open the
Brush in PSP and import as custom brush ( File
- Import - Custom Brush)
Double
click on the font (ttf) to open. Minimize to
tray, you can use it now in PSP.
Note: If
you are using PSP13 in combination with Windows
7 you need to copy the font to the Font folder
of windows.
Foregroundcolor: 7d6c62
Backgroundcolor: f3f0ea
Other used colors:
#605752,
#1a1614

This
translation is written with PSP13
but can also be made
with earlier PSP
versions.
|
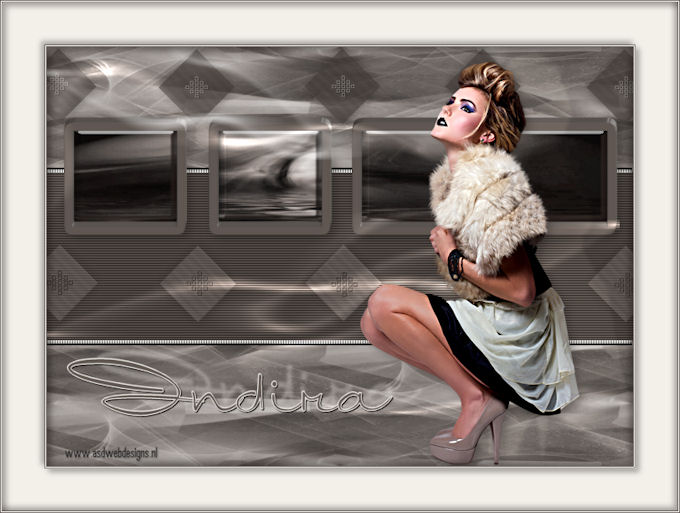
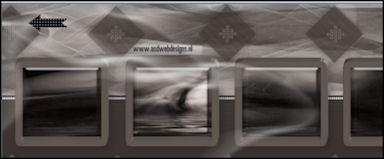
01.
Open a new transparent image
of 700 x 500 px
Set your foregroundcolor to
gradient - Style: Radial
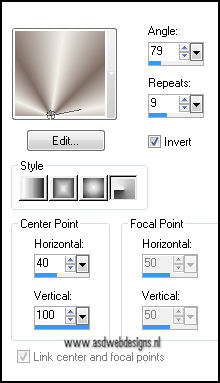
Fill your
image with the gradient
Adjust - Blur
- Gaussian Blur -
40
02.
Layers - New
Raster Layer
Selections -
Select all
Open Tube
"Alies
379-vrouwen-28122010" Copy and
paste into the
selection
Selections -
Select None
Effects -
Image Effects - Seamless Tiling -
Default settings
Adjust - Blur
- Gaussian Blur -
55
Adjust - Hue
and Saturation - Colorize - 15 -
13
Layers -
Merge - Merge Visible
03.
Layers -
Duplicate
Set your
foregroundcolor back
to color and change
to #605752
Selections -
Load/Save Selection - Load selection
from disc -
Msb_Indira_01
Layers -
New Raster Layer
Fill with
the foregroundcolor
Selections -
Modify - Contract -
10px
Selections - Modify
- Select Selection
Border - Outside
checked - Anti Alias
checked
- Border width
10
Selections -
Invert
Hit the
delete key of your keyboard
Selections -
Invert
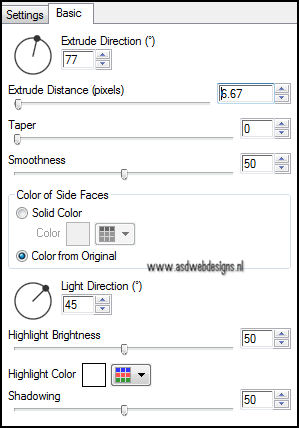
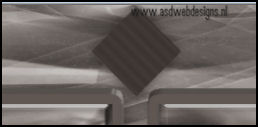
Effects - Plugins -
Eye Candy 5 -
Impact - Extrude
-
Settings Tab:
Small offset, 30
Degrees
Basic Tab:
Selections - Select
None
Magic Wand Tool -
Mode: Shift/Add - Tolerance
0 - Click in the
four squares:
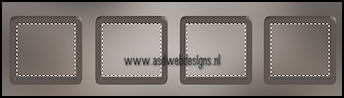
Selections - Modify - Expand
- 4 px
Layers - New Raster
Layer
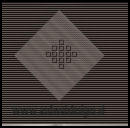
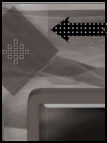
Open Graphic
"2" Copy and paste into
the selection
Selections -
Select None
Adjust - Hue
and Saturation - Colorize - 15 -
13
Layers -
Arrange - Move Down
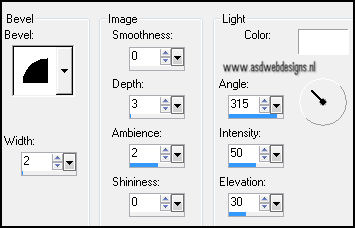
Effects -
Plugins - Eye Candy 5
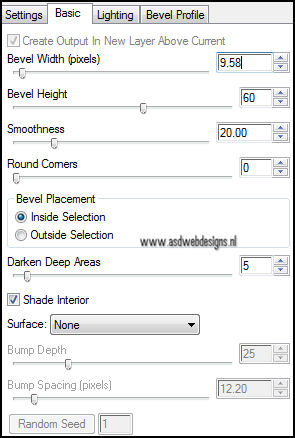
- Impact - Bevel -
Settings Tab:
Concave
Edge
Lightning
Tab:
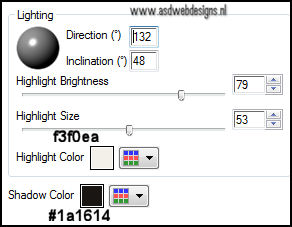
Basic
Tab:
Effects -
Plugins - Eye Candy 5
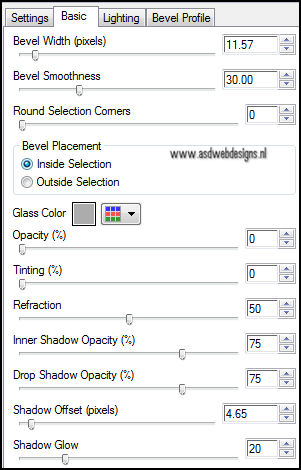
- Impact - Glass -
Settings Tab:
Clear
Basic
Tab:
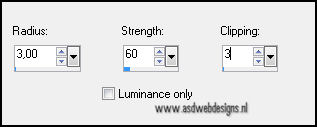
Adjust -
Brightness and Contrast - Local
Tone Mapping - 16
Layer Palette
- Click on the top layer
Effects
3D Effects - Dropshadow - V 5 - H 5 -
O 30 - B 15 - #1a1614
Layers -
Merge - Merge Down
04.
Layers -
New Raster Layer
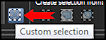
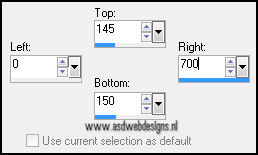
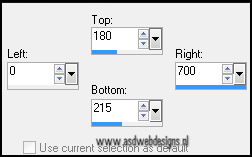
Selection
Tool - Rectangle - Custom
Selection:
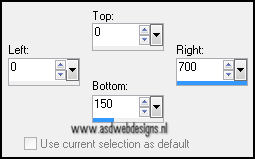
Open Tube "sb_Pattern10710" Copy and
paste into the
selection
Selections -
Select None
Adjust - Hue
and Saturation - Colorize - 15 -
13
Layers -
Arrange - Move Down
Layers -
Duplicate
Image -
Flip
05.
Layers -
New Raster Layer
Selection
Tool - Rectangle - Custom
Selection:
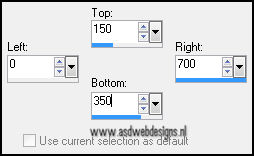
Fill with
the foregroundcolor
Selections -
Select None
Effects -
Texture Effects - Blinds
06.
Selection
Tool - Rectangle - Custom
Selection:
Selections - Promote
selection to layer
Selections -
Select None
Effects
3D Effects - Dropshadow - V 5 - H 5 -
O 30 - B 15 - #1a1614
Effects 3D Effects -
Dropshadow - V Minus 5 - Minus H 5 -
O 30 - B 15 - #1a1614
Image -
Free Rotate - Free - 45° -
Right
Image -
Resize - 80 % - Resize all layers
not checked
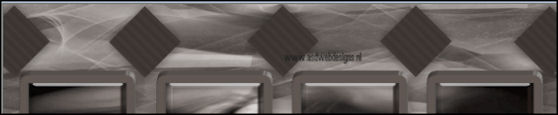
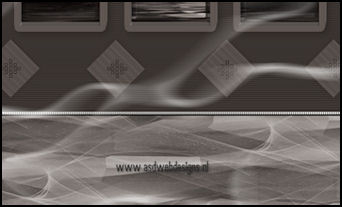
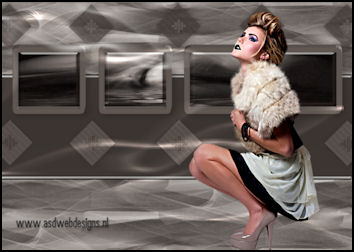
Move to
the top, like this:
Layers -
Duplicate - Repeat 3 times
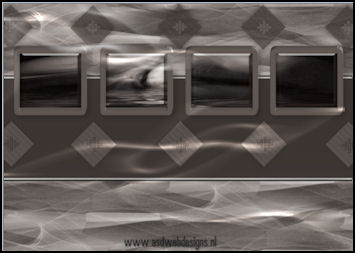
Move them
in line, like this
Layer Palette
- Click on the
second
layer from the
top
Layers -
Merge - Merge Down
Repeat 3
times until they are all on one
layer
07.
Layers -
New Raster Layer
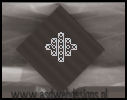
Paint
brush tool -
Msb_Brush_blokje_02
- Size 32 - Opacity
60
Click a
couple of times with your
background color in
the the
5 squares ( do not
worry of they are
showing very light,
we will fix it
later) , like this:
Effects
3D Effects - Dropshadow - V 1 - H 1 -
O 100 - B 1 - #1a1614
08.
Layer Palette
- Click on the layer with the
squares and set the Layer
Opacity of this layer to
70
Layers -
Duplicate
Move like
this:
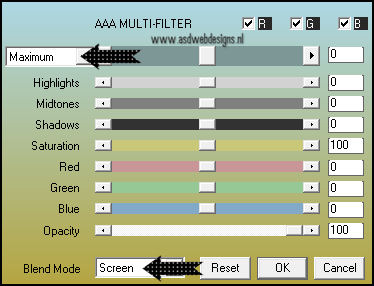
Effects -
Plugins - AAA Filters - AAA
Multi filters
Layer Palette
- set the Layer Opacity of this layer
to 70
09.
Layers -
New Raster Layer
Paint
brush tool
Msb_Brush_blokje_02
- Same settings
Add one
to every square but now with
the foregroundcolor
Effects
3D Effects - Dropshadow - V 1 - H 1 -
O 100 - B 1 - #1a1614
10.
Layers -
New Raster Layer
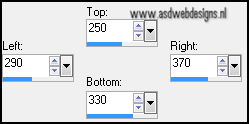
Selection
Tool - Rectangle - Custom
Selection:
Fill with
the backgroundcolor
Effects -
Texture Effects - Blinds
Selections -
Select None
Effects -
3D Effects - Inner
Bevel
Effects
3D Effects - Dropshadow - V 1 - H 1 -
O 100 - B 1 - #1a1614
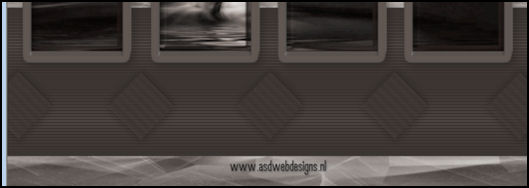
Move down like
this:

Layers -
Duplicate
Image - Flip
Layers -
Merge - Merge Down
11.
Layer Palette - Click on
the top layer
Set your
foregroundcolor to gradient
Fading Background
(Corel_06_025) - Style:
Linear - Angle 0 - Repeats
1 - Invert
checked
Layers -
New Raster Layer
Selection
Tool - Rectangle - Custom
Selection:
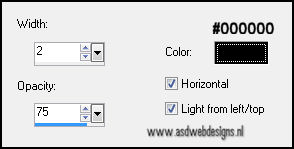
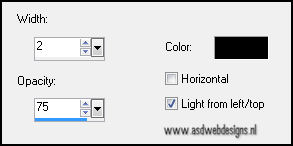
Set your
Floodfill tool to these
settings:

Fill the selection
with the
gradient
Selections -
Select None
Effects -
Distortion Effects - Wave
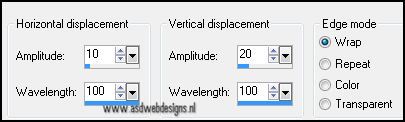
Effects -
Distortion Effects - Twirl -
150°
Effects -
Distortion Effects - Wave
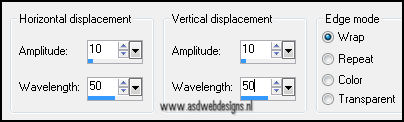
Effects -
Distortion Effects - Wind - From
right - 100
Move like
this:

12.
Layers -
Duplicate
Image -
Mirror
Image -
Resize - 80% - Resize all layers
not checked
Move to
the left top like
this:
Eraser
Tool

Erase
the hard line
here:
Layers -
Duplicate
Image -
Flip
Move like
this:
Deformation tool (
Hit the D from your
keyboard)
Pull to the
right
Add then deformation
by clicking on any
other tool
Layer Palette
- Set the Blend Mode of this layer
and the third layer form the top
to "Dodge"
Move the
layers a little around until
it looks like this:
Make the
bottom layer invisible
Click on
one of the other layers -
Layers - Merge -
Merge Visible
Make the
bottom layer visible
again.
13.
Make sure
you are on the top
layer
Open Tube
"Alies
379-vrouwen28122010" - Copy and paste as
new layer on your
image.
Image -
Resize - 70% - Resize all layers
not checked
Adjust -
Sharpness - Unsharpen Mask
Move like
this:
Layers -
Duplicate
Layer Palette
- Click on the original Tube
layer
Effects
3D Effects - Dropshadow - V Minus 10
- H 55 - O 33 - B 5 -
f3f0ea - Shadow on
new layer
checked
Layer Palette
- Set the Blend Mode of this Shadow
layer to Overlay and the Layer
Opacity to 43
Layer Palette - Click on the top
layer
Effects
3D Effects - Dropshadow - V 5 - H 5 -
O 33- B 15 - #1a1614 - Uncheck Shadow
on new layer
14.
Texttool
- Font
International
Palms -
Size 67 pixels -
Stroke width 1 -
Create as Vector
checked
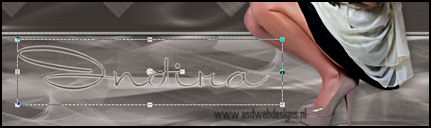
Type your
text
Pull the
nodes a little up
Move like
this:
Layers -
Convert to raster
Layer
Effects
3D Effects - Dropshadow - V 1 - H 1 -
O 80- B 1 - #1a1614
Layers -
Duplicate
Layer Palette
- Click on the original text
layer
Effects
3D Effects - Dropshadow - V Minus 10
- H 35 - O 33- B 5 -
#f3f0ea
Layers -
Merge - Merge all
15.
Selections -
Select all
Effects
3D Effects - Cutout - V 5 - H 5
- O 40 - B 10 -
#1a1614 -- Fill interior with color
not checked
Layers - New
Raster Layer
Effects
3D Effects - Cutout - V Minus 5
- H Minus 5 - O 40 -
B 10 - #1a1614 -- Fill interior with color
not checked
Selections -
Select None
16.
Image - Add
Borders - Symmetric - 1 px
-#605752
Image - Add
Borders - Symmetric - 1 px
-
#f3f0ea
Image - Add
Borders - Symmetric - 1 px
- #605752
Image - Add
Borders - Symmetric - 50 px -
#f3f0ea
Image - Add
Borders - Symmetric - 1 px
- #605752
Image - Add
Borders - Symmetric - ** px -
#f3f0ea
Image - Add
Borders - Symmetric - 1 px -
#605752
17.
Magic
Wand Tool - Mode: Shift/Add -
Tolerance - Inside -
Click in the 50 px
border
Effects
3D Effects - Cutout - V Minus 4 - H
Minus 4 - O 35 -
B 10 - #1a1614 -- Fill interior with color
not checked
Layers - New
Raster Layer
Effects
3D Effects - Cutout - V 4
- H 4 - O 35 -
B 10 - #1a1614 -- Fill interior with color
not checked
Selections -
Select None
18.
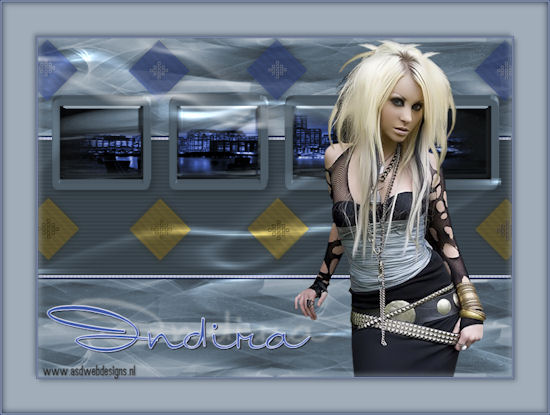
Add your name
or watermark, save as JPG file and
your done!
Thank you
Martalip and Angelika
for testing this
translation!
Martalip:
Angelika:
Back
to the top