Adjust - Blur - Gaussian Blur - 15
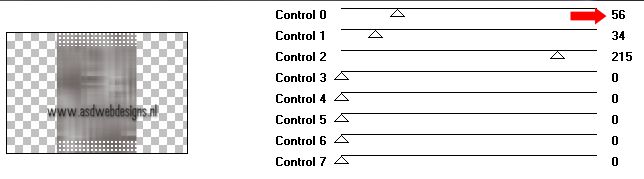
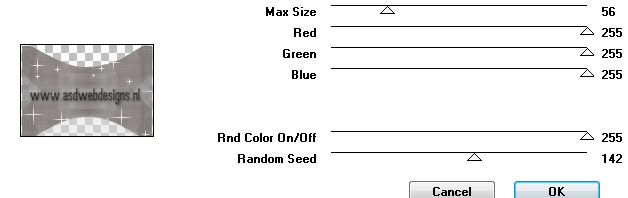
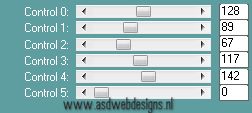
Effects - Plugins – Simple – Diamonds
Effects - Edge Effects -
Enhance
Selections - Select None
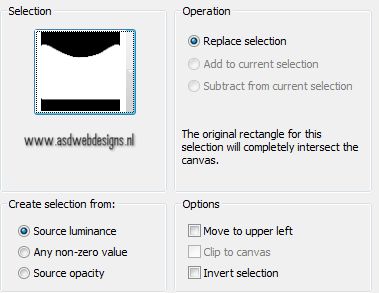
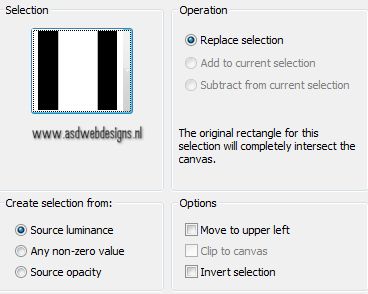
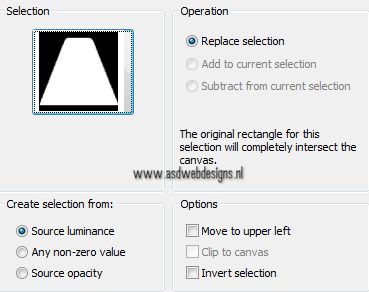
Selections - Load/Save Selection -
Load Selection From Disk - Msb_Sel_Isabelle_03
Edit - Cut
Selections -
Select None
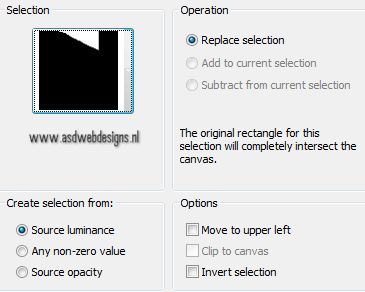
Selections - Load/Save Selection -
Load Selection From Disk - Msb_Sel_Isabelle_04
Layers - New Raster Layer
Color Palette: Set your
Foregroundcolor back to Color
Fill the Selection with the
Foregroundcolor 
Selections - Modify - Contract -
5
Edit - Cut
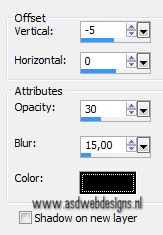
Effects 3D Effects - Cutout - Shadow
Color #000000 
Layers - Merge - Merge
Down
Selections - Select None
Image - Resize - 92% - Resize all
layers not checked
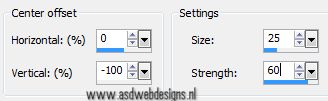
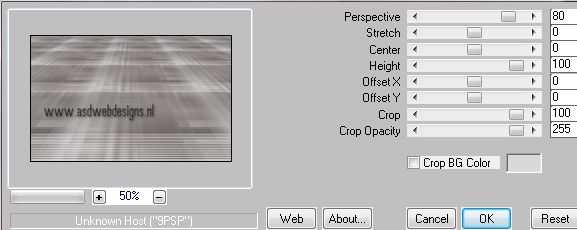
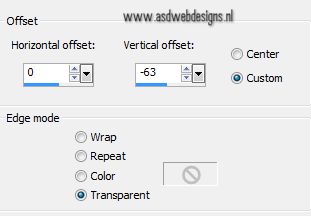
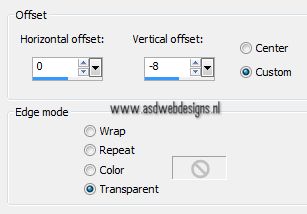
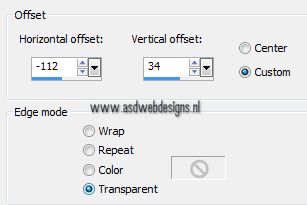
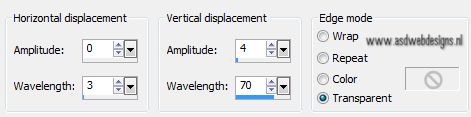
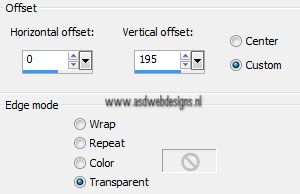
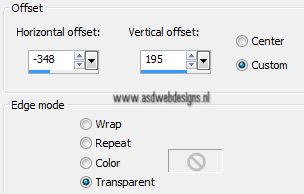
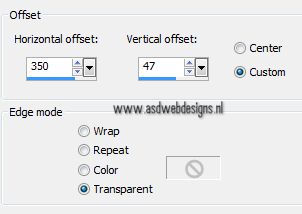
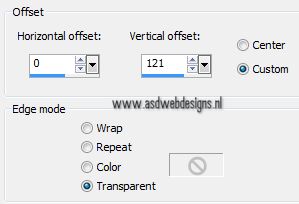
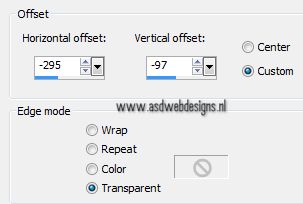
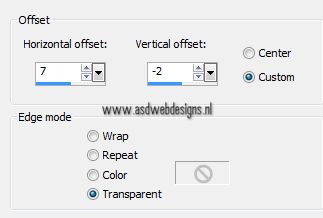
Effects - Image Effects -
Offset
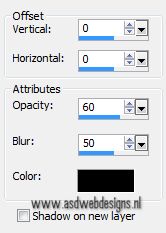
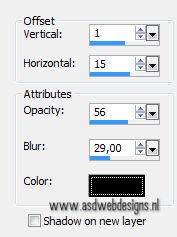
Effects 3D
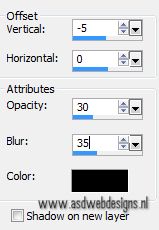
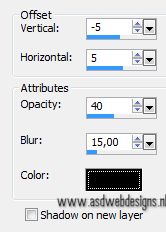
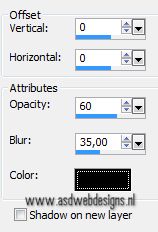
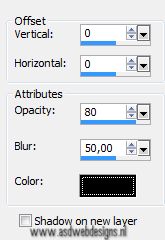
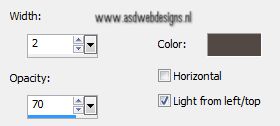
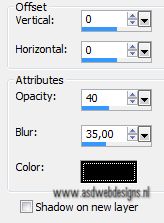
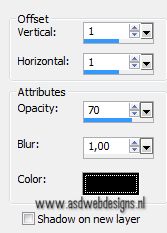
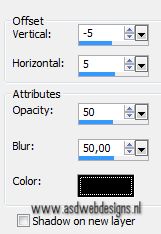
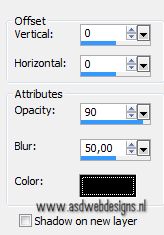
Effects - DropShadow - Color: #000000
Layers -
Duplicate
Image -
Mirror
Layers - Merge
- Merge Down
Adjust - Sharpness
- Sharpen
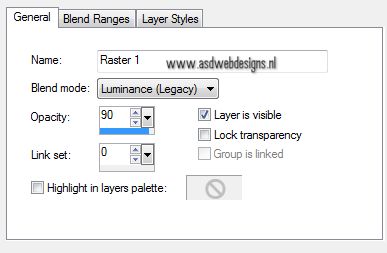
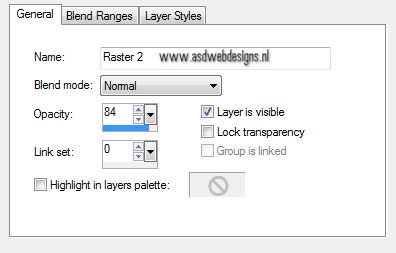
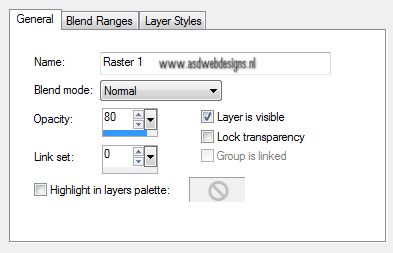
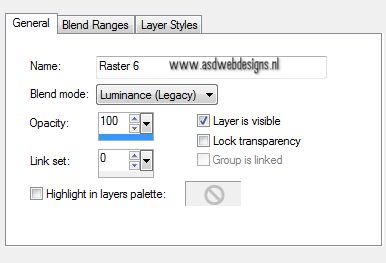
Layer Palette -
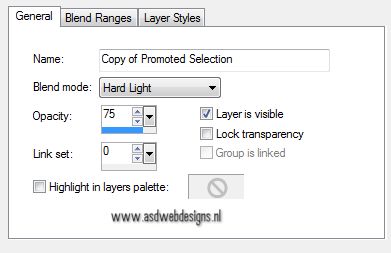
Double click on this Layer and set
the Blend Mode to
"Luminance (Legacy)" and the Layer
Opacity to 90
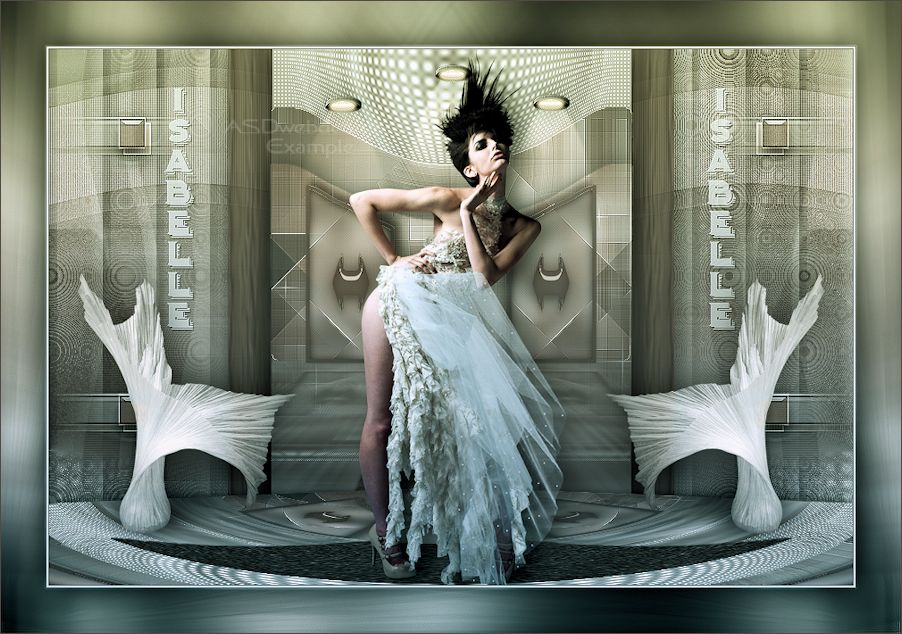
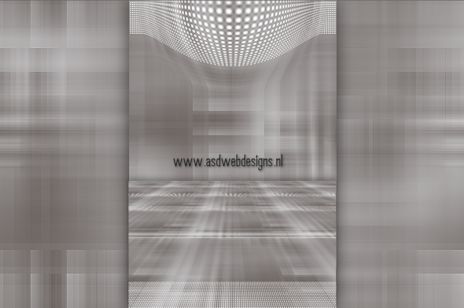
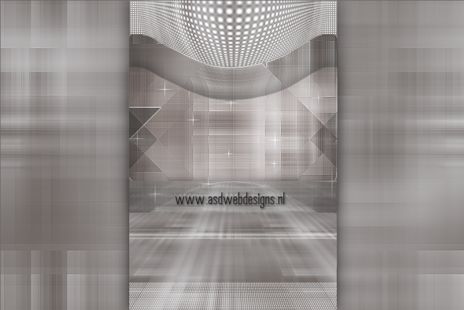
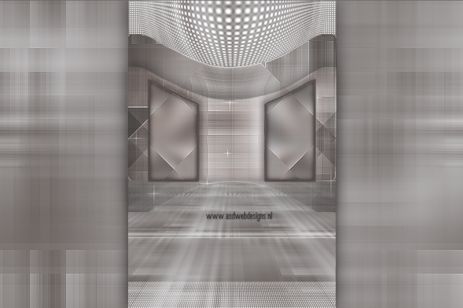
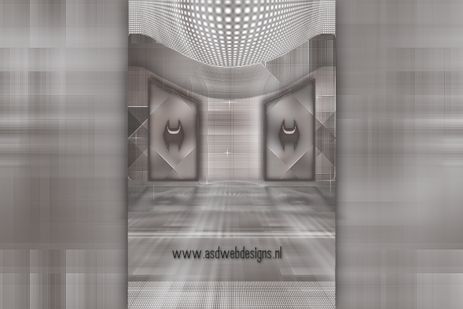
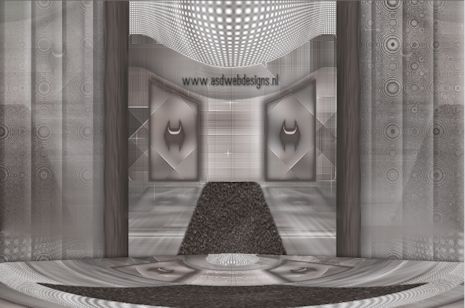
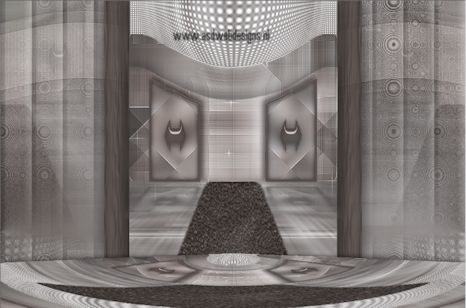
Your work looks like this
now:
06
Open Tube
"Msb_Deco_20-3-13"
Edit -
Copy
On your work
image: Edit - Paste As New Layer
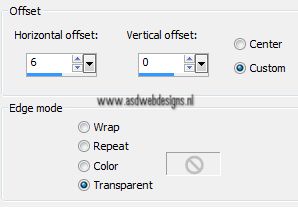
Effects - Image
Effects - Offset
Layers - Duplicate
Image - Mirror
Layers - Merge - Merge
Down
Effects 3D
Effects - DropShadow - Color: #000000
Layer Palette - Double click on this
Layer and set the Layer
Opacity of this layer to 84
Layers - Merge - Merge
Down
Effects - Plugins - Alien Skin Eye
Candy 5 - Impact - Perspective
Shadow - Settings Tab:
Msb_Setting_AS_PS_Isabelle_01
Your work looks like this
now:
07
Layers - New Raster Layer
Selections - Load/Save Selection -
Load Selection From Disk -
Msb_Sel_Isabelle_05
Effects - Plugins - Alien Skin Eye
Candy 5 -
Textures - Animal Fur - Preset
Msb_Setting_AS_Text_AF_01
Selections - Select None
Layer Palette - Close the
Background Layer, make sure you are on one of the other
layers
Layers - Merge - Merge
Visible
Open the Background Layer
Make sure you are on the top
layer
Layers - Duplicate
08
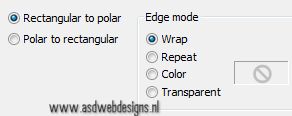
Effects - Distortion Effects - Polar
Coordinates
View - Rulers
Hit the K key of your
keyboard
Pull the middle node down to 480
px
Hit any key to add the
deformation
View - Rulers
09
Layer Palette - Click on the middle
layer
Layers - Duplicate
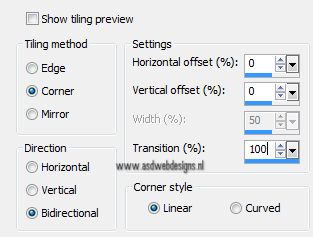
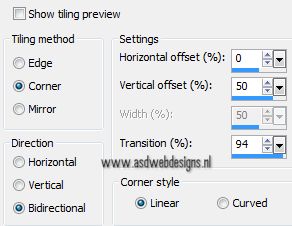
Effects - Image Effects - Seamless
Tiling
Layers - Arrange - Move Down
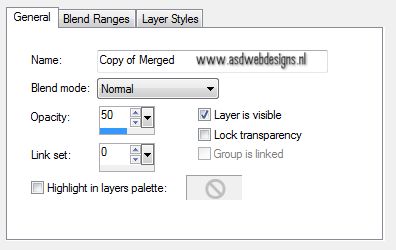
Layer Palette - Double
click on this Layer and set the
Layer Opacity of this layer to 50
Layers -
Duplicate
Effects -
Plugins - Tramages -
Cirquelate
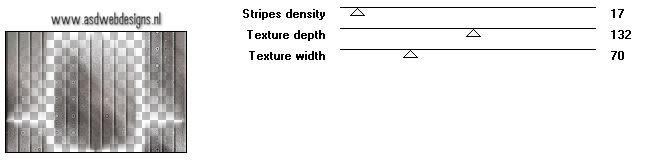
Effects -
Plugins - Tramages - Panel
Stripes
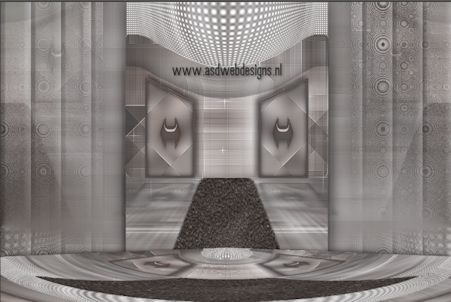
Your work looks like this
now:
10
Layers
- New Raster Layer
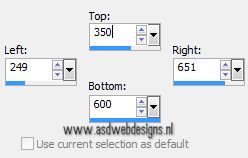
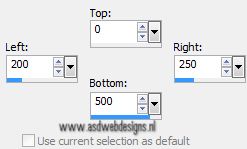
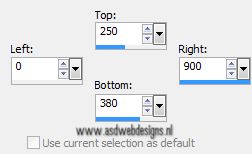
Selection Tool - Rectangle
 - Custom Selection:

Fill with the Foregroundcolor
Effects - Plugins - Alien Skin Eye
Candy 5 -
Textures - Wood - Preset
AS_Texture_Wood_22-3-13
Effects 3D Effects - DropShadow
- Color: #000000
Selections - Select None
Layers - Duplicate
Image
- Mirror
Layers - Merge - Merge
Down
Layer Palette - Double click on this
Layer and set the Layer
Opacity of this layer to 80
Your work looks like this
now:
11.
Layers - New Raster Layer
Selection Tool - Rectangle
- Custom Selection:
Fill the Selection with the
Backgroundcolor 
Selections - Select None
Effects - Plugins - Toadies - What
Are You? - X-dose 0 - Y-dose
10
Effects - Distortion Effects - Wave
Layers - Arrange - Move Down
Effects 3D Effects - DropShadow
- Color: #000000
Effects - Image Effects -
Offset
Effects - Texture Effects - Blinds -
ForegroundColor:
Adjust - Sharpness - Sharpen More
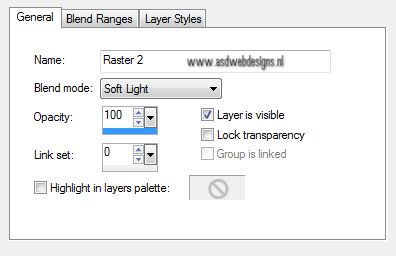
Layer Palette - Double click on this
Layer and set the Blend Mode to
"Soft Light"
Your work looks like this
now:
12.
Open Tube
"Msb_Deco_23-3-13"
Edit -
Copy
On your work
image: Edit - Paste As New Layer
(do not worry if you do not see it, you will
after the next step)
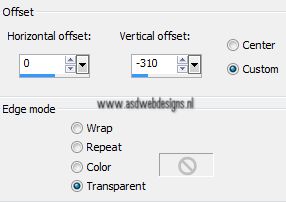
Effects - Image
Effects - Offset
Layers - Duplicate
Image - Mirror
Effects - Image Effects -
Offset
Layers - Merge - Merge
Down
Layers - Duplicate
Effects -
Image Effects - Offset
Layers - Merge - Merge
Down
Effects 3D Effects - DropShadow
- Color: #000000
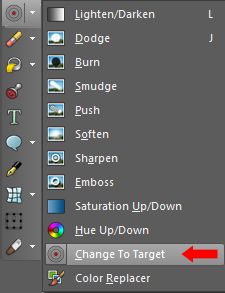
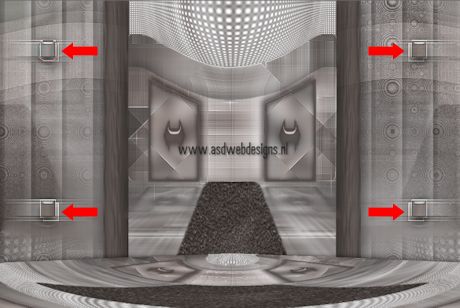
Change to Target tool:

Click with the Foregroundcolor
on all 4 glass squares:
13.
Open Tube
"Msb_Deco_24-3-13"
Edit -
Copy
On your work
image: Edit - Paste As New Layer
Effects - Image
Effects - Offset
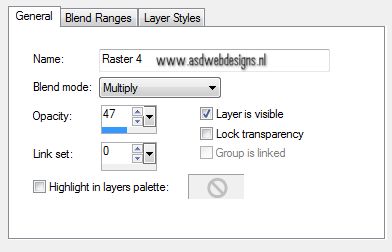
Layer Palette - Double click on this
Layer and set the Blend Mode to
"Multiply" and the Layer Opacity to
47
Layers - Arrange - Move Down -
REPEAT ONCE
Layers - Duplicate
Image - Mirror
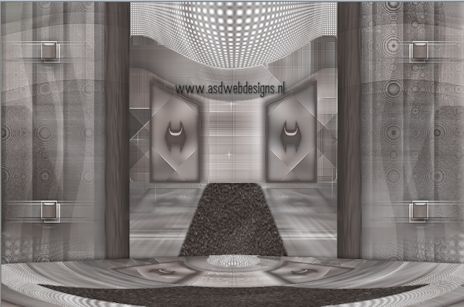
Your work looks like this
now:
14.
Layer Palette - Click on the top
layer
Open Tube
"Msb_Text_Isabelle"
Edit -
Copy
On your work
image: Edit - Paste As New Layer
Effects - Image
Effects - Offset
Effects 3D Effects -
DropShadow - Color: #000000
Layer Palette - Double click on this
Layer and set the Layer
Opacity of this layer to 75
15.
Open Tube
"SvB
Licht vaas"
Edit -
Copy
On your work
image: Edit - Paste As New Layer
Image - Resize -
58% - Resize all layers not
checked
Effects - Image
Effects - Offset
Effects 3D
Effects - DropShadow - Color: #000000
Layer Palette - Double click on this
Layer and set the Blend Mode to
"Luminance (Legacy)"
Effects - Plugins - Alien Skin Eye
Candy 5 - Impact - Perspective
Shadow - Settings Tab:
Preset
Msb_Preset_AS-PS_Isabelle_02
Layers -
Duplicate
Image - Mirror
16.
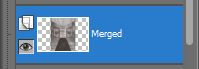
Layer Palette - Click on the Merged Layer
Layers - Duplicate
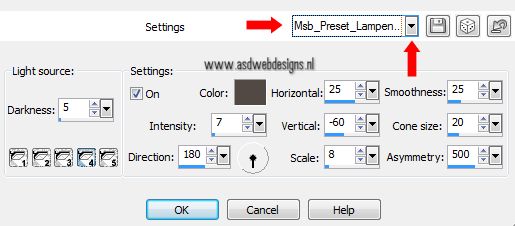
Effects - Illuminations Effects - Lights -
Preset:
Msb_Preset_Lampen_Isabelle
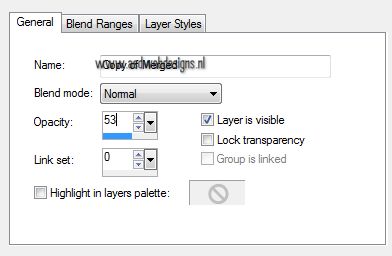
Layer Palette - Double click on this
Layer and set the Layer
Opacity of this layer to 53
17.
Layer Palette - Click on the top
layer
Open Tube
"Msb_Lamp_Isabelle"
Edit -
Copy
On your work
image: Edit - Paste As New Layer
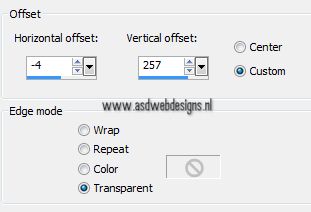
Effects - Image
Effects - Offset
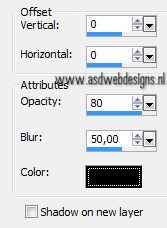
Effects 3D Effects -
DropShadow - Color: #000000
Adjust -
Sharpness - Sharpen
18.
Open Tube
"kittys-none"
Edit -
Copy
On your work
image: Edit - Paste As New Layer
Image - Resize -
66% - Resize all layers not checked -
REPEAT ONCE
Effects - Image
Effects - Offset
Effects 3D Effects -
DropShadow - Color: #000000
Effects - Plugins - Alien Skin Eye
Candy 5 - Impact - Perspective
Shadow - Settings Tab:
Msb_Setting_AS_PS_Isabelle_03
19.
Layers - New Raster Layer
Add your name or watermark;
Layers - Merge - Merge all (Flatten)
20.
Image - Add Borders - Symmetric checked - 1 px
- Foregroundcolor
Image - Add Borders - Symmetric checked - 2 px
- Backgroundcolor
Image - Add Borders - Symmetric checked - 1 px
- Foregroundcolor
Edit - Copy
Selections - Select all
Image - Add Borders - Symmetric checked - 50 px
- Backgroundcolor
Selections - Invert
Edit - Paste into Selection
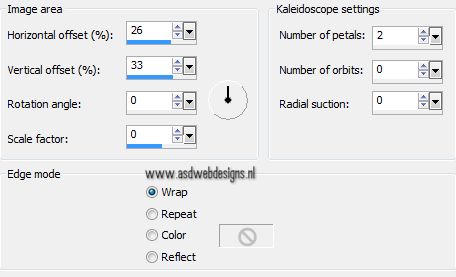
Effects - Reflection Effects -
Kaleidoscope
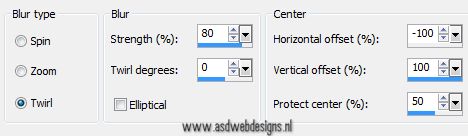
Adjust - Blur - Radial Blur
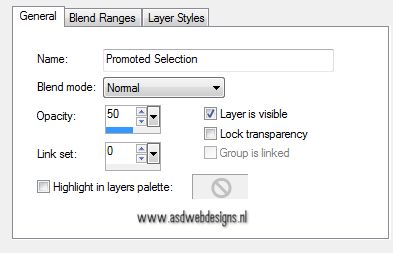
Selections - Promote Selection to
Layer
21.
Layers - Duplicate
Image - Mirror
Selections - Defloat
Layer Palette - Double click on this
Layer and set the Layer
Opacity of this layer to 50
Layers - Merge - Merge
Down
Effects
- Edge Effects - Enhance
Effects - Plugins - Graphic
Plus - Cross Shadow - Default Settings
Selections - Invert
Effects 3D Effects - DropShadow -
Color: #000000
Layers - Merge - Merge All
(Flatten)
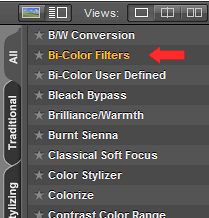
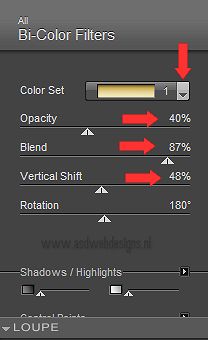
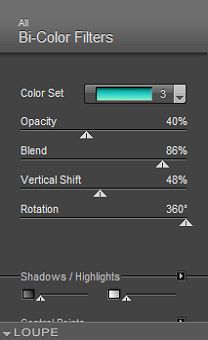
Effects - Plugins - Nik Software -
Color Efex Pro 3.0 - Bi Color
Filters - Colorset: Choose the one you like best.
I used - Moss - Color Set 3 -
The original tutorial used Brown no 1 
Image - Add Borders - Symmetric checked - 1 px
- Foregroundcolor
Image - Resize - Width 950 Pixels -
Resize all layers checked
If
you wish you can post your result on my Facebook Page