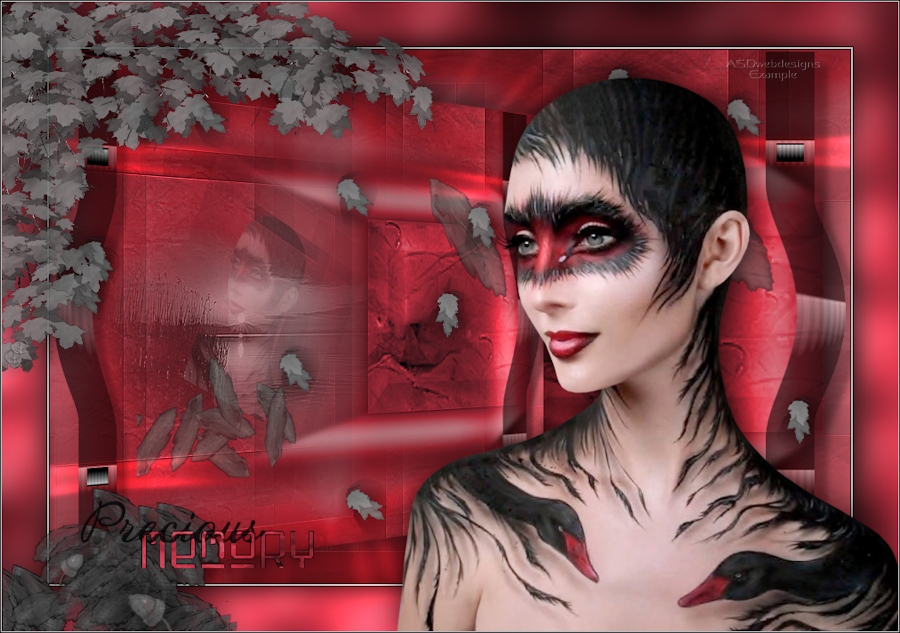
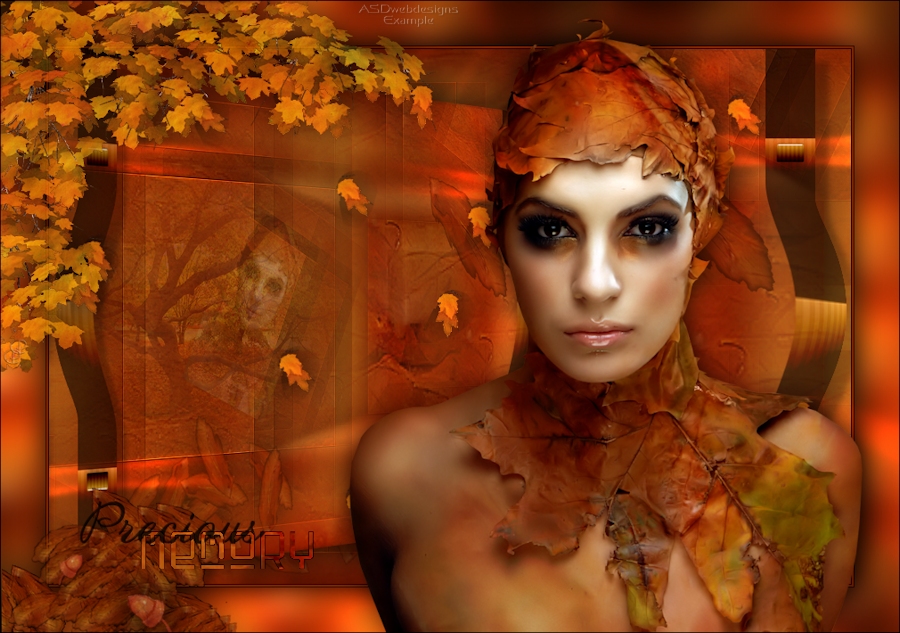
The tutorial:
01
Open a
new transparent image of 900 x 600
px
Selections - Select all
Open
image "Msb_Background_21-7-13"
Edit - Copy
On your work image: Edit -
Paste Into Selection
Selections - Select None
02
Layers - New Raster Layer
Fill with the Pattern

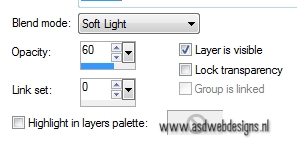
Layer Palette - Double click on this
Layer and set the Blend Mode to
"Soft Light" and the Layer
Opacity to 60
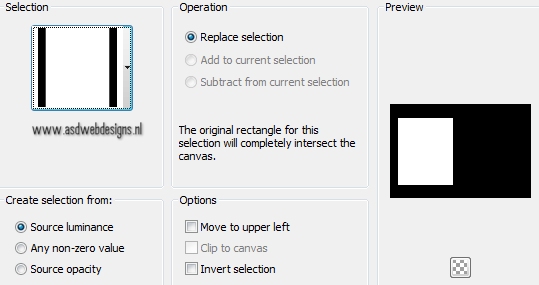
Selections - Load/Save Selection
- Load Selection From Disk -
Msb_Sel_ Precious-Memory_01
Selections - Promote Selection to
Layer
Selections - Select None
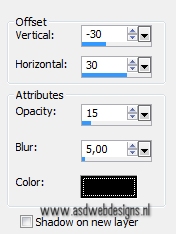
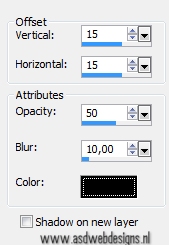
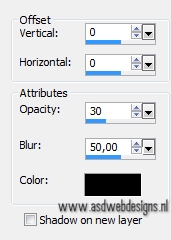
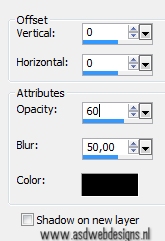
Effects 3D Effects -
DropShadow - Color: #000000
04
Color Palette: Set
your Foregroundcolor back to color
and swap materials: 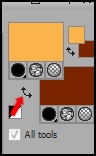
Effects - Plugins - It@lian Editors
effect - EEffeto Fantasma - Sposta-X
41 - Sposta Y 41
Effects - Plugins - It@lian Editors
effect - EEffeto Fantasma - Sposta-X
10 - Sposta Y 0
Effects - Edge Effects -
Enhance
05
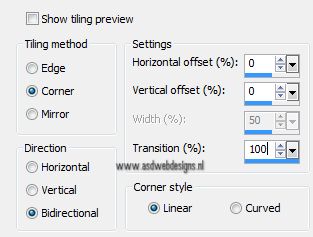
Layers - Duplicate
Effects - Image Effects - Seamless
Tiling
Effects 3D Effects -
DropShadow - Color: #000000 
Layers
- Arrange - Move Down
06
Layer Palette
- Click on the top layer
Layers - Duplicate
Image - Free
Rotate - Right checked - Free checked -
25°
Image - Resize
- 60% - Resize all layers not
checked
Effects - Image Effects - Seamless
Tiling
07
Open
Tube "calguisportraitautomnal18109"
Edit - Copy
Minimize to tray, you need it later.
On your work image: Edit - Paste
as New Layer
Image - Resize - 30% - Resize all
layers not checked
Image - Free Rotate - Right
checked - Free checked - 25°
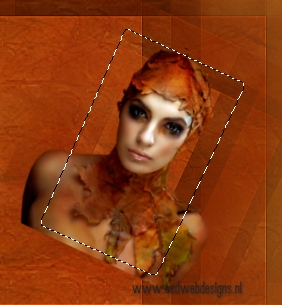
Selections -
Load/Save Selection - Load Selection
From Disk - Msb_Sel_
Precious-Memory_02
Move the tube into the Selections
like this:
Selections - Invert
Edit - Cut
Selections - Select None
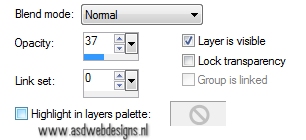
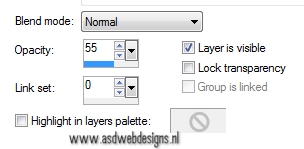
Layer Palette - Double click on this
Layer and set the Layer Opacity of
this layer to 37
08
Open
Tube "Nov-Falls-By-Lory"
Edit - Copy
On your work image: Edit - Paste
as New Layer
Image - Resize - 80% - Resize all
layers not checked
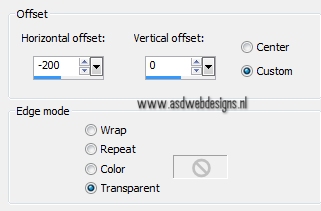
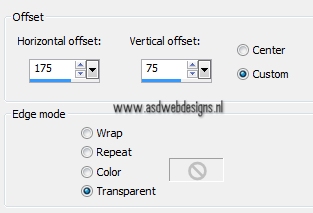
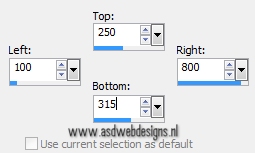
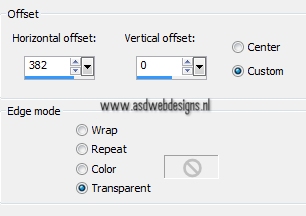
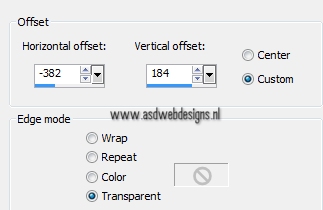
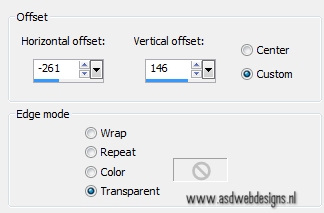
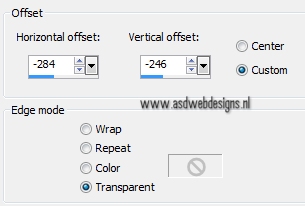
Effects - Image Effects -
Offset
Effects 3D
Effects - DropShadow - Color:
#000000
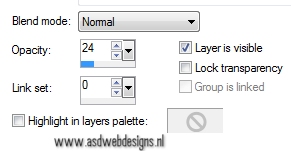
Layer Palette -
Double click on this Layer and set
the Layer Opacity of this layer to
24
09
Layer Palette
- Click on the Second layer from the bottom
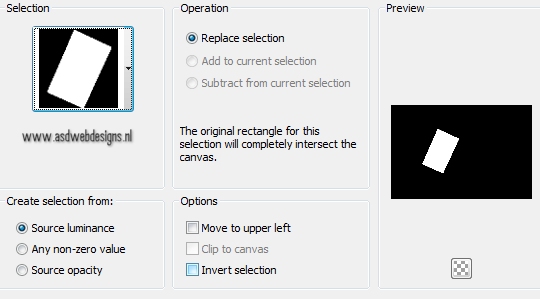
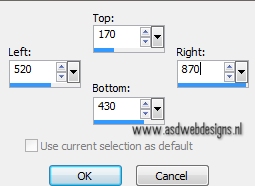
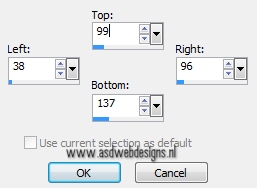
Selection
Tool - Rectangle  - Custom Selection:

Selections - Promote Selection to
Layer
Layers -
Arrange - Bring to Top
Effects -
Plugins - Alien Skin Eye Candy 5 -
Impact - Bevel - Settings
Tab: Preset:
Msb_AS_Bevel_Precious Memory
Keep selected
10
Layers -
Duplicate
Effects -
Plugins - Alien Skin Eye Candy 5 -
Impact - Backlight-
Settings Tab:
Preset:
Msb_AS_BL_Precious Memory_01
Layers - Arrange
- Move Down
Selections - Select None
Note: If you are using
colors of your own, colorize
now.
Effects 3D
Effects - DropShadow - Color:
#000000
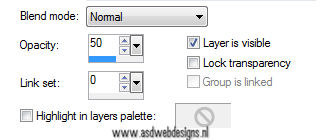
Layer Palette
- Double click on this Layer and set
the Layer Opacity of this layer to
50
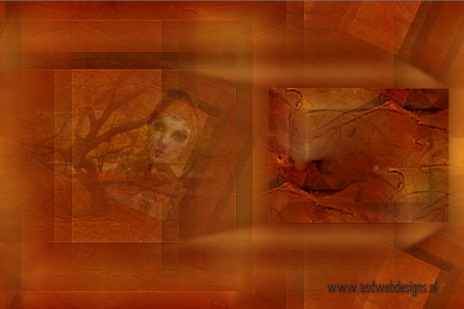
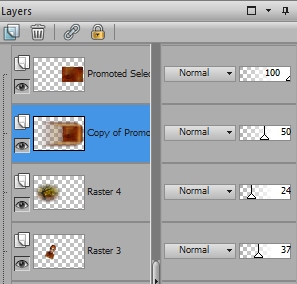
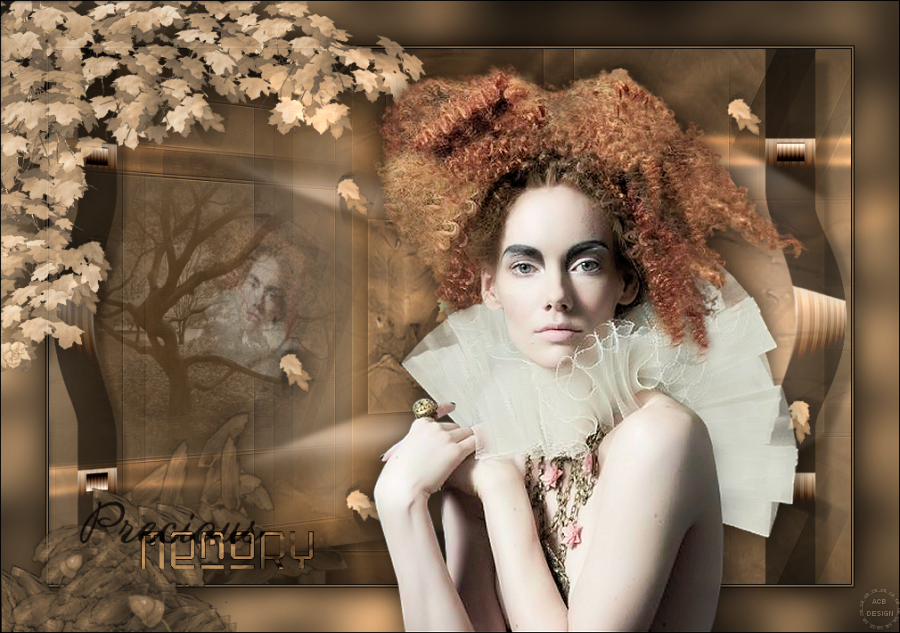
Your work and Layer Palette look
like this now:
Layer Palette
- Click on the top layer
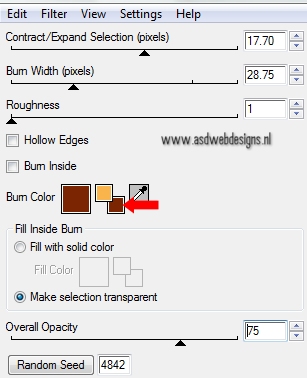
Effects - Plugins - Alien Skin -
Xenofex 2 - Burned Edges - Select
the Backgroundcolor 
Effects -
Distortion Effects - Warp
Image - Resize
- 70% - Resize all layers not checked -
REPEAT ONCE
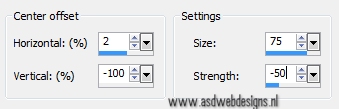
Effects - Image Effects -
Offset
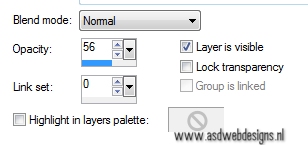
Layer
Palette - Double click on this Layer and set the Layer Opacity
of this layer to 56
12
Layers - Duplicate
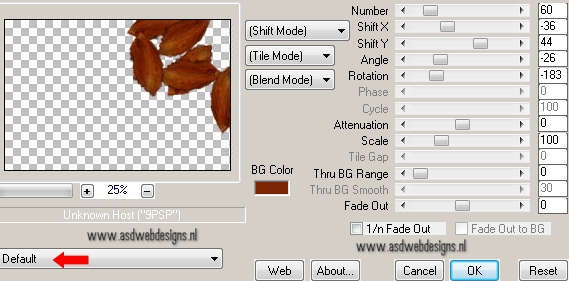
Effects - Plugins - MuRa’s Meister - Copies. NOTE: If you
can not get the same result play with the settings until you
have a pile of leaves.
Image - Resize -
45% - Resize all layers not checked
Image - Mirror
Image - Flip
Effects 3D
Effects - DropShadow - Color:
#000000
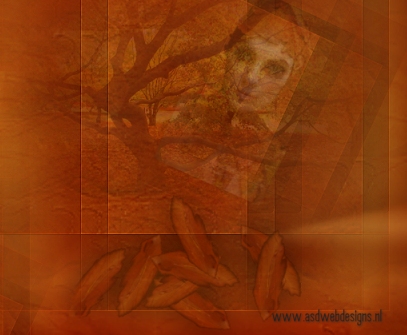
Move to the Left like this: (yours could look
different because of the copies effect, mine is also a little
different then Meta's original)
13
Color
Palette: Swap materials:
Layers - New Raster Layer
Selection
Tool - Rectangle - Custom Selection:
Fill with the Backgroundcolor
 (Right Mouse Click)
Selections - Select None
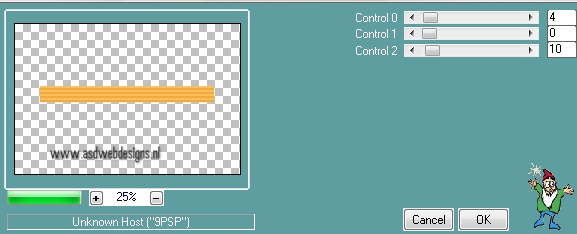
Effects - Plugins - Carolaine and
Sensibility -
CS-HLines
Effects - Edge
Effects - Enhance
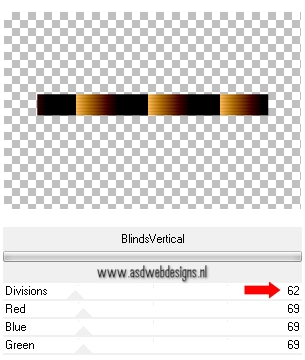
Effects - Plugins -
<I.C.NET Software>
Filters Unlimited -
&<Bkg Designer sf 10 I> -
Blinds Vertical
Image - Free
Rotate - Right checked - 90°
Image - Resize - 86 %. Resize all
layers not checked
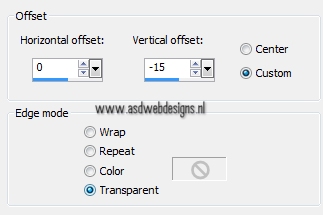
Effects - Image
Effects - Offset
Effects -
Distortion Effects - Warp
Effects - Image
Effects - Offset
14
Layers - Duplicate
Image - Mirror
Layers - Merge -
Merge Down
Layer Palette - Double click on this Layer and set the Layer
Opacity of this layer to 55
Effects 3D Effects -
DropShadow - Color: #000000
Selection
Tool - Rectangle - Custom Selection:
Edit - Copy
Selections - Select
None
Edit - Paste as New
Layer
16
Layers Duplicate
Layer Palette
- Close this layer by clicking on t e little eye
Click on the
second layer from the top
Image - Resize
- 56% - Resize all layers not
checked
Adjust -
Sharpness - Sharpen
Effects -
Plugins - Alien Skin Eye Candy 5 -
Impact - Glass - Settings
Tab: Preset
Msb_AS_IMP_Glass_ Precious
Memory
Effects -
Plugins - Alien Skin Eye Candy 5 -
Impact - Backlight -
Settings Tab: Preset
Msb_AS_BL_
Precious Memory_01
Note: If you are using
different colors, colorize now, the
same as you did before
17
Layers - Duplicate
Image Mirror
Layers - Merge - Merge
Down
Effects - Image
Effects - Offset
Layers - Arrange - Move
Down.
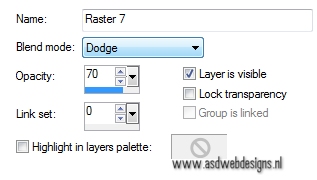
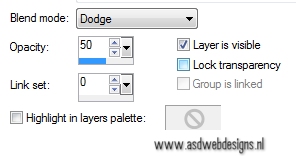
Layer Palette - Double click on this
Layer and set the Blend Mode to
"Dodge" and the Layer Opacity
to 70
18
Layers - Duplicate
Image - Mirror
Layers - Duplicate
Image Flip
Image - Mirror (There will be nothing in the right
corner)
19
Layer Palette -
Click on the top layer and open it again
Image -
Resize - 56% - Resize all
layers not checked
Effects - Image
Effects - Offset
Layers - Duplicate
Image - Mirror
Layers - Duplicate
Image Flip
Image - Mirror
Layers - Merge -
Merge all (Flatten)
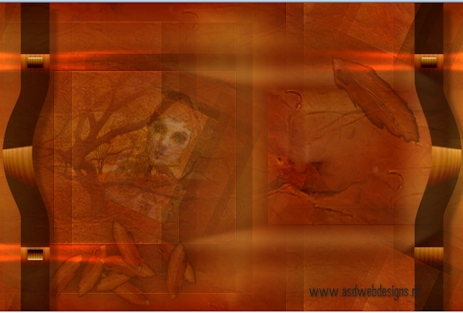
Your work looks like this
now:
(yours could
look different because of the copies effect, mine is
also a little different then
Meta's original)
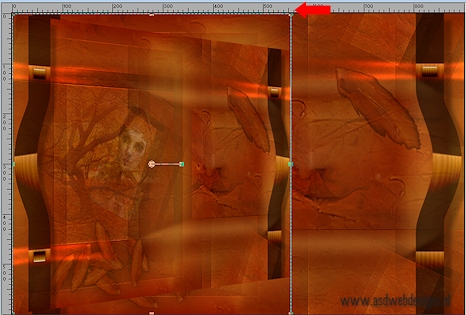
20
Layers - Duplicate
Effects -
Geometric Effects - Perspective Horizontal -
Distortion 25 - Transparent
checked
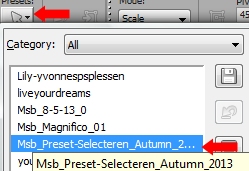
Hit the K Key of
your Keyboard, click on Presets and
load preset
"Msb_Preset-Selecteren_Autumn_2013"
If this is not
working for you? Activate the ruler
(View - Rulers) and pull the middle
node to the right until 555
px
Hit the M key of
your keyboard
Effects 3D Effects -
DropShadow - Color: #000000
Effects -
Plugins - Alien Skin Eye Candy 5 -
Impact - Backlight -
Settings Tab: Preset
Msb_AS_BL_
Precious Memory_02
21
Open
Tube "Msb_Deco_Precious-Memory_02"
Edit - Copy
On your work image: Edit - Paste
as New Layer
No need to move
Effects 3D
Effects - DropShadow - Color:
#000000
Layers - Merge - Merge all (Flatten)
22
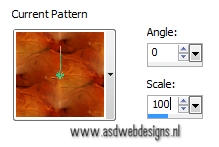
Color Palette: Change your
Foregroundcolor to #000000
and your
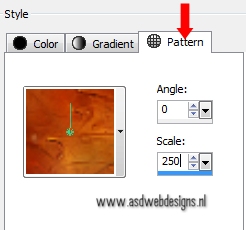
Backgroundcolor to #7b2502
Set your
Foregroundcolor to the same pattern
as before but with these
settings
23
Image - Add Borders - Symmetric
checked - 1 px - Foregroundcolor
Image - Add Borders - Symmetric
checked - 2 px - Backgroundcolor
Image - Add Borders - Symmetric
checked - 1 px - Foregroundcolor
Selections - Select all
Image - Add Borders - Symmetric
checked - 50 px - Backgroundcolor
Selections - Invert
Fill the Selection with the Pattern

Note:
Colorize if you are using your own
colors
Adjust - Blur - Gaussian Blur -
15
Effects - Plugins -
Graphic Plus - Cross
Shadow
Selections -
Invert
Effects 3D Effects -
DropShadow - Color: #000000
Selections - Select
None.
24
Open Tube "fallleavescorner"
Edit - Copy
On your work image: Edit -
Paste as New Layer
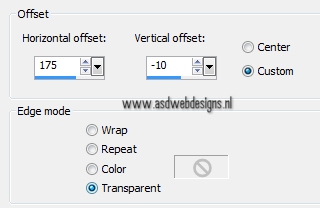
Effects - Image
Effects - Offset
Effects
3D Effects - DropShadow -
Color: #000000
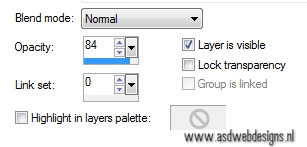
Layer Palette -
Double click on this Layer and set
the Layer Opacity of this layer to
84
25
Open Tube "Msb_Deco_Precious-Memory"
Edit - Copy
On your work image: Edit -
Paste as New Layer
Effects - Image Effects -
Offset
Effects 3D
Effects - DropShadow - Color:
#000000
26
Open Tube "Msb_Text_Precious-Memory"
Edit - Copy
On your work image: Edit -
Paste as New Layer
Colorize if you are using your own
colors
Effects - Image Effects -
Offset
Effects - Edge Effects - Erode
Effects 3D
Effects - DropShadow - Color:
#000000
27
Go back to Tube "calguisportraitautomnal18109"
Edit - Copy
On your work image: Edit -
Paste as New Layer
Image - Resize - 78 %. Resize all
layers not checked
Effects - Image Effects -
Offset
Effects 3D
Effects - DropShadow - Color:
#000000
Layers - Duplicate
Layer Palette
- Click on the original tube layer
Adjust - Blur
- Gaussian Blur - 75
Layer Palette
- Double click on this Layer and set
the Blend Mode to
"Dodge" and the Layer Opacity to
55
29
Layer Palette
- Click on the top layer
Layers - Duplicate
Layer Palette
- Click on the original tube layer
Effects -
Plugins - Alien Skin Eye Candy 5 -
Impact - Backlight -
Settings Tab: Preset
Msb_AS_BL_
Precious Memory_03
Colorzie if you are
using your own colors
Layer Palette
- Double click on this Layer and set
the Blend Mode to
"Dodge" and the Layer Opacity to
50
30
Image - Add Borders -
Symmetric checked - 1 px -
Foregroundcolor
Image -
Resize - Width 900 Pixels - Resize all layers
checked
31
Add
your name or watermark, save as JPG file and you're
done!
If you wish
you can post your result on my Facebook Page

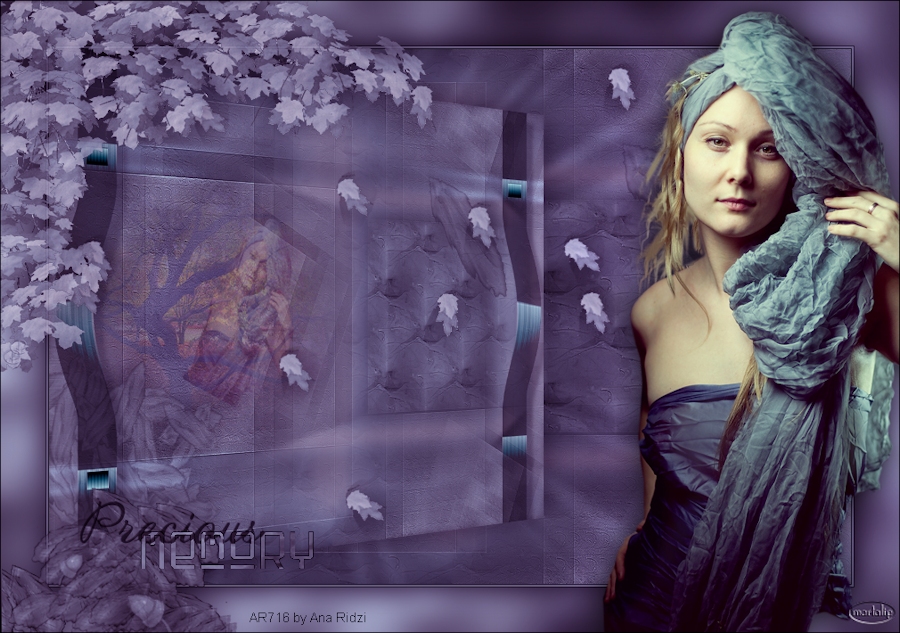
EXTRA EXAMPLE:
Tube by
Annelies from A&K
Tubes unlimited. She shares her great tubes
HERE