Open a new transparent image
of 900 x 600 px
Selections - Select
All.
Open Tube
"libellulegraphisme_Twins_Girls_merci_DANAE"
Edit - Copy
On your work image: Edit - Paste Into
Selection
Selections - Select
None
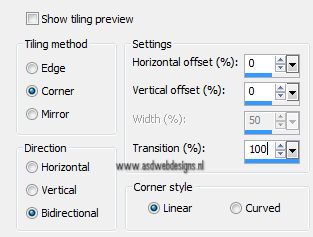
Effects - Image Effects - Seamless
Tiling
Layers - New Raster Layer
Selections - Select
All
Open Tube "Yoka-Faces-Shadows-230213"
Edit - Copy
On your work image: Edit - Paste Into
Selection
Selections - Select None
Effects -
Image Effects - Seamless Tiling
Layers -
Arrange - Move Down
Layers -
Merge - Merge Visible
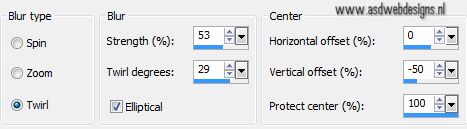
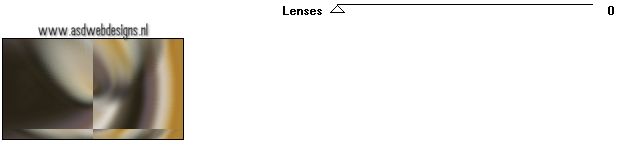
Adjust -
Blur - Radial Blur
Layers - Duplicate
Image - Mirror
Image - Flip
Layers - Merge - Merge
Down
Adjust - Blur - Gaussian Blur -
25
02.
Layers - Duplicate
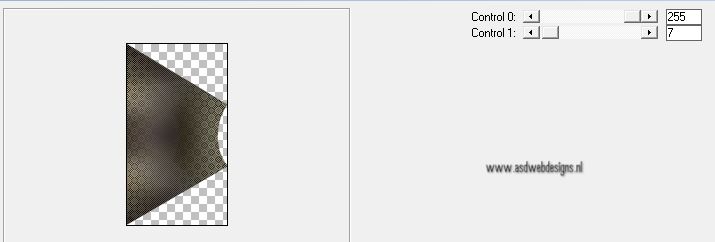
Effects -
Plugins - Funhouse - BugEye
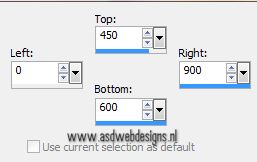
Selection
Tool - Rectangle  - Custom Selection:
Selections - Promote Selection to
Layer
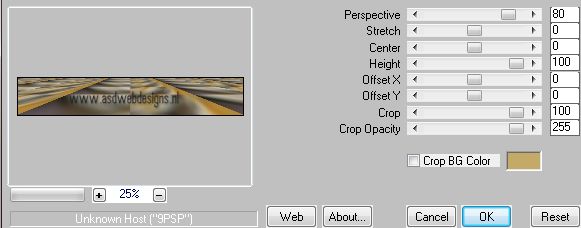
Effects - Plugins - MuRa's Meister -
Perspective Tiling
Selections - Select None
Effects - Distortion Effects - Punch -
Strength 80%
Effects 3D Effects - DropShadow -
Color: #000000 
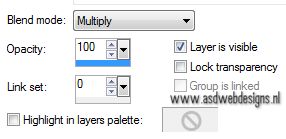
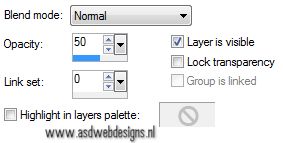
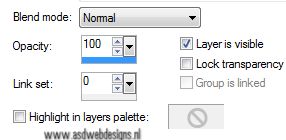
Layer Palette - Double click on this
Layer and set the Blend Mode to
"Multiply"
03.
Layer Palette - Click on the Bottom layer
Layers - Duplicate
Layers - Arrange -
Move Up
Effects -
Plugins - Simple - Blintz
Effects -
Plugins - Simple - Left Right
Wrap
Layers -
Duplicate
Image - Flip
Layer Palette - Double click on this
Layer and set the Layer
Opacity of this layer to -50
Layers - Merge - Merge
Down
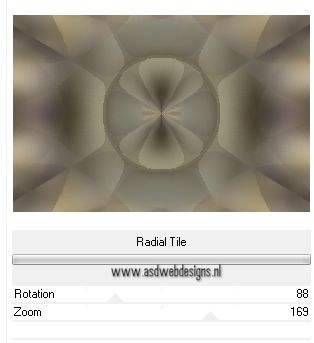
Effects - Plugins - <I.C.NET
Software> - Filters Unlimited 2.0
- Tile & Mirror –
Radial Tile
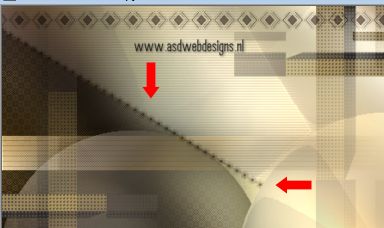
Your work looks like this now
04.
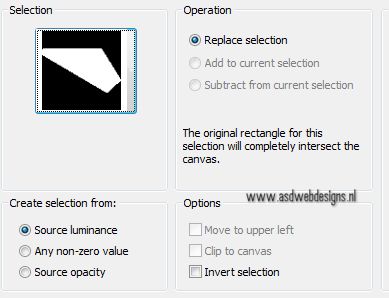
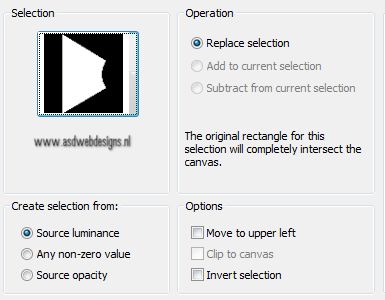
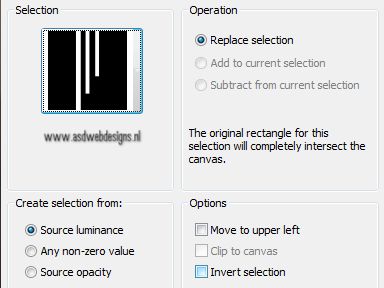
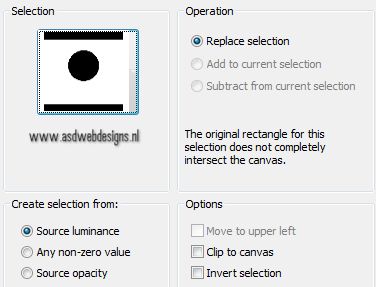
Selections - Load/Save Selection - Load
Selection From Disk - Msb_Sel_Shadows_01
Selections - Promote Selection to
Layer
Selections - Select None
Effects - Distortion Effects - Wind - From
Left checked - Wind Strength:
25
Effects - Plugins - Filter
Factory G- Bevel 1.5
Effects -
Plugins - Alien Skin Eye Candy 5 -
Impact - Textures - Texture Noise -
Settings Tab: Preset
Msb_Preset_AS_TextNoise_4-3-13
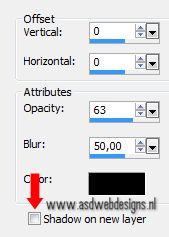
Effects - Edge Effects - Enhance
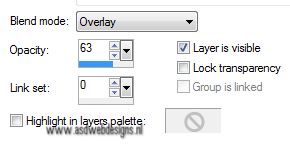
Layer Palette - Double click on this
Layer and set the Blend Mode to
"Overlay" and the Layer Opacity to
63
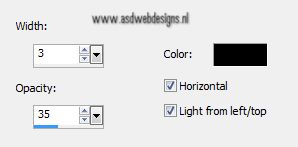
Effects - Texture Effects - Blinds - Color:
#000000
Effects - Edge Effects -
Enhance
Effects - Plugins - Simple - Top
Left Mirror
Layers - Merge - Merge
Down
Layer Palette - Double click on this
Layer and set the Blend Mode to
"Dodge" and the Layer Opacity to
50
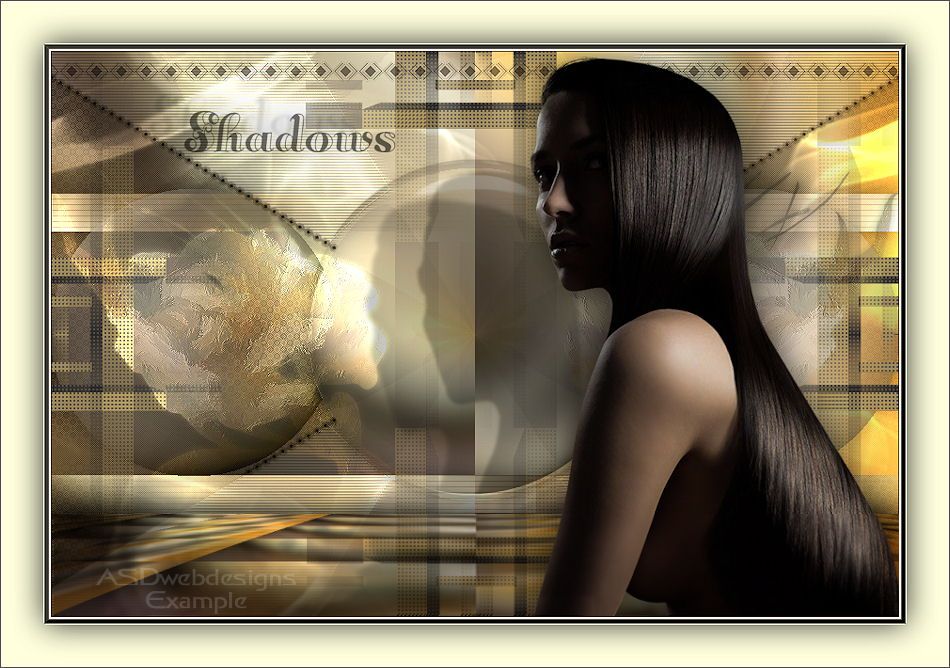
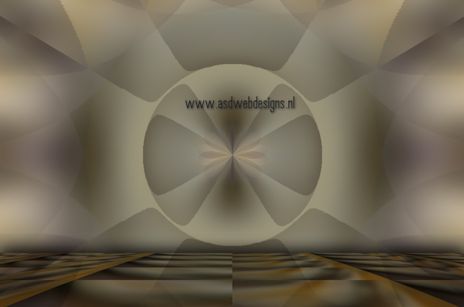
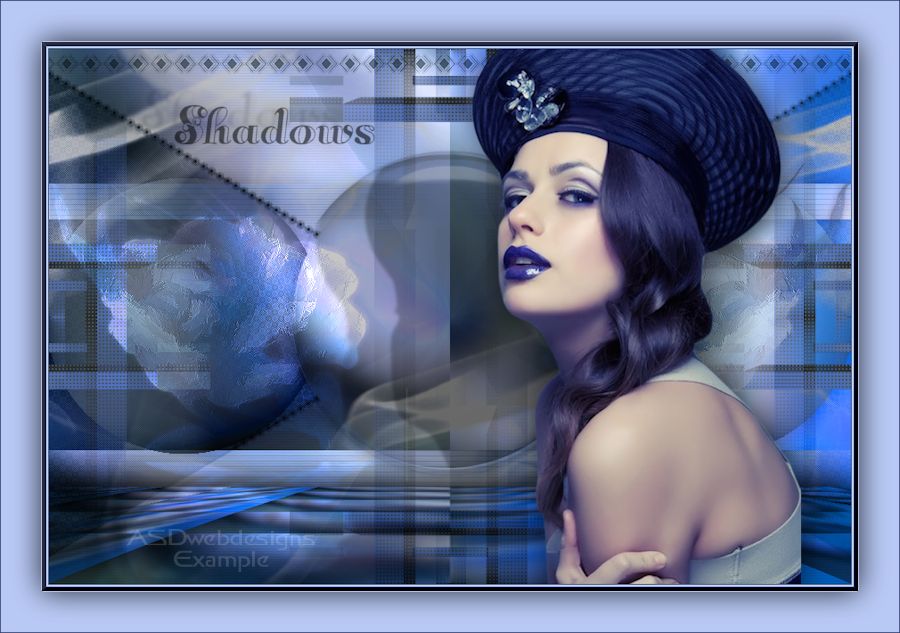
Your work looks like this
now
05.
Selections - Load/Save Selection -
Load Selection From Disk - Msb_Sel_Shadows_02
Selections - Promote Selection
to Layer
Layers - Duplicate
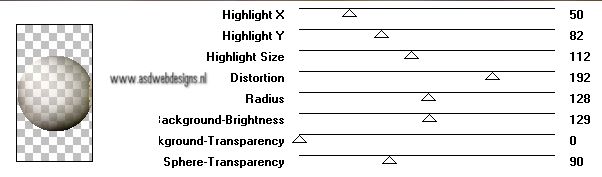
Effects - Plugins – Filter Factory B
– Crystal Ball
Selections -
Select None
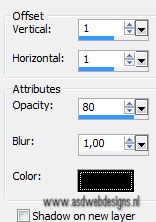
Effects 3D
Effects - DropShadow - Color: #000000
Layers -
Duplicate
Image - Mirror
Layers - Merge - Merge
Down
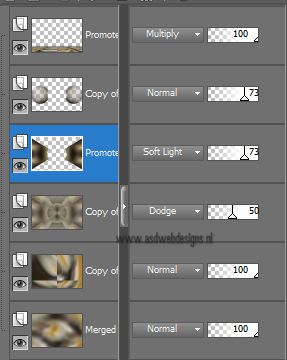
Layer Palette - Double click on this
Layer and set the Layer
Opacity of this layer to - 73
06.
Layer Palette - Click on the Third layer from the top
(Promoted Selection 1)
Selections
- Load/Save Selection - Load Selection From Disk -
Msb_Sel_Shadows_02 (Same selection as before)
Effects - Plugins - L&K
SiteOfWonders - L en K Palmyre
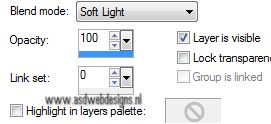
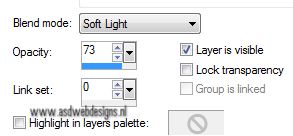
Layer Palette - Double click on this
Layer and set the Blend Mode to
"Soft Light"
Layers - Duplicate
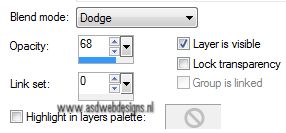
Layer Palette - Double click on this
Layer and set the Blend Mode to
"Dodge" and the Layer Opacity to
68
Layers - Merge - Merge
Down
Selections - Select None
Layers - Duplicate
Image - Mirror
Layer Palette - Double click on this
Layer and set the Blend Mode to
"Normal"
Layers - Merge - Merge
Down
Layer Palette - Double click on this
Layer and set the Layer
Opacity of this layer to 73
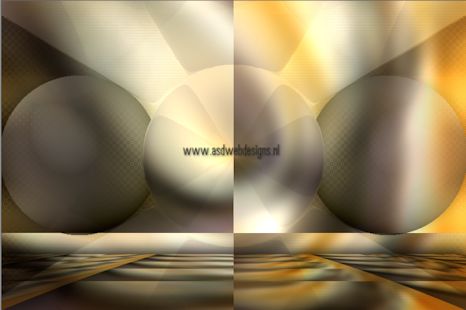
Your work looks like this
now:
07.
Color Palette: Set your Foregroundcolor to
Foreground/Background Gradient
(Corel_06_029) - Style: Sunburst
Layers - New
Raster Layer
Layers - Arrange
- Move Up
Selections
- Load/Save Selection - Load Selection From Disk -
Msb_Sel_Shadows_03
Fill the Selection with the Gradient
Selections -
Select None
Effects 3D
Effects - DropShadow - Color - #000000
Effects -
Plugins - Alien Skin Eye Candy 5 -
Impact - Extrude - Settings
Tab: Preset Msb_Preset_As_Extr_1-3-13
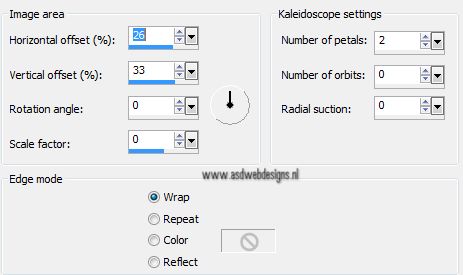
Effects -
Reflection Effects - Kaleidoscope
Layers - Duplicate
Image - Free Rotate - Left - 90°
Image - Resize - 60% - Resize all
layers not checked
Layers - Merge - Merge
Down
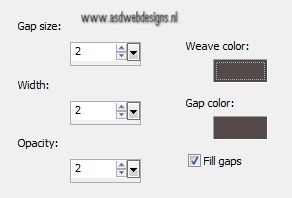
Effects - Texture Effects - Weave - Weave
Color & Gap Color #534948 
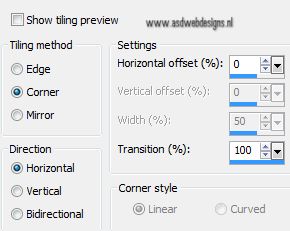
Effects - Image Effects - Seamless Tiling
Layer Palette - Click on the Second bottom (Copy of
Merged)
Selection Tool - Rectangle
- Custom Selection:
Selections - Promote Selection to
Layer
Selections - Select None
Effects - Image Effects - Seamless Tiling
Effects - Plugins -
Carolaine and Sensibility –
CS_Halloween 2 - Default settings
Effects 3D Effects - DropShadow
- Color: #000000
Save as PSP file (in case PSP shuts
down on you) and set aside for now.
09.
Color Palette: Set your Foregroundcolor to #ffffff
 and your Backgroundcolor to #534948
Open a
new transparent image of 900 x 200 px
Preset Shape Tool  - Shape Div45
  - LineStyle: Solid - Width 2

Make a shape like this: (2 block
high and 2 blocks width) 
Image - Resize - 80% - Resize all
layers not checked
Objects - Allign - Centre in
Canvas
Layers - Convert to Raster Layer
Layers - Duplicate
Image - Mirror
View - Zoom In - Repeat Once
Mover Tool  Move the two pieces together like this:
Layers - Merge - Merge
Down
Image - Resize - 80% - Resize all
layers not checked
View - Zoom Out - Repeat
Once
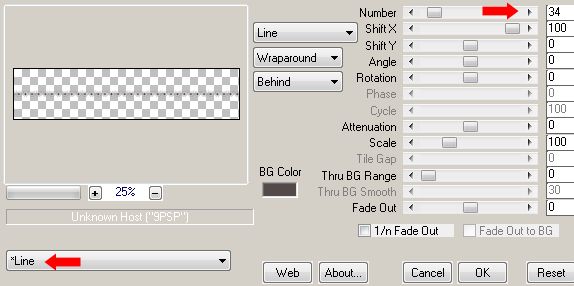
Effects - Plugins – MuRa’s Meister –
Copies
Layers - Merge - Merge
Visible
Edit - Copy
10.
Go back to your main image
Edit -
Paste as New Layer
Layers - Arrange - Bring to Top
Mover Tool
Move to the top like
this:
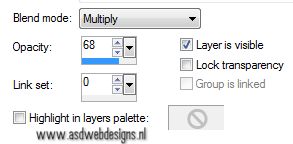
Layer Palette - Double click on this
Layer and set the Blend Mode to
"Multiply" and the Layer Opacity to
68
Adjust - Sharpness
- Sharpen
Layers -
Duplicate
Image - Resize -
40% - Resize all layers not
checked
Image - Free
Rotate - Right - Free - 31°
Mover Tool
Move to the left like
this:
Layers - Duplicate
Image - Mirror
Layers - Merge - Merge
Down
Layers - Duplicate
Image - Flip
Layers - Merge - Merge
Down
Effects 3D Effects - DropShadow
- Color: #000000
Selection
Tool - Rectangle - Custom Selection:
Edit - Cut
Selections - Select None
11.
Open Tube
"Msb_Deco_Ball_9-3-13"
Edit -
Copy
On your work
image: Edit - Paste As New Layer
No need to move
Go back to the Tube - Layer Palette - Click on
the Top layer
Edit -
Copy
On your work
image: Edit - Paste As New Layer
12.
Open Tube
"libellulegraphisme_Twins_Girls_merci_DANAE"
Edit -
Copy
On your work
image: Edit - Paste As New Layer
Image - Resize -
45% - Resize all layers not
checked
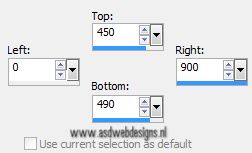
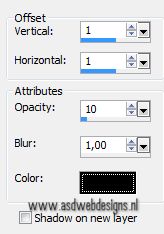
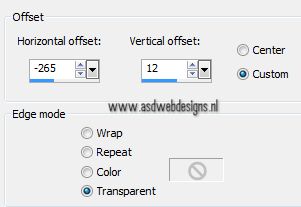
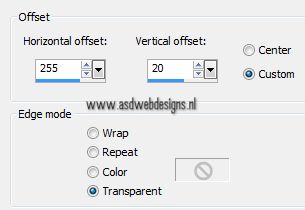
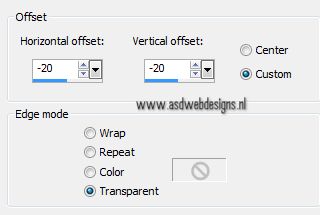
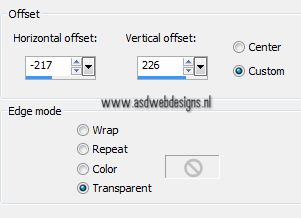
Effects - Image
Effects - Offset
Layers -
Duplicate
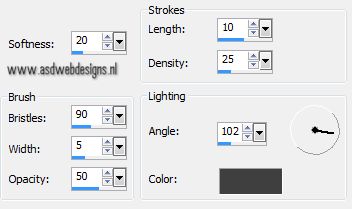
Effects - Art
Media Effects - Brush Strokes - Color #404040 
Layers - Merge - Merge
Down
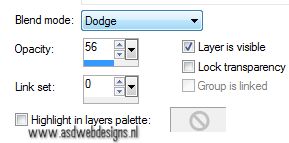
Layer Palette - Double click on this
Layer and set the Blend Mode to
"Dodge" and the Layer Opacity to
56
Effects - Plugins - Alien Skin Eye
Candy 5 - Impact - Perspective
Shadow - Settings Tab: Reflect in
Front, Above.
Layers - Duplicate
Image - Mirror
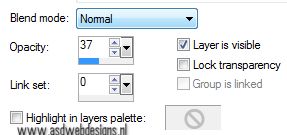
Layer Palette - Double click on this
Layer and set the Blend Mode to
"Normal" and the Layer Opacity to
37
13.
Open Tube
"Yoka-Faces-Shadows-230213"
Edit -
Copy
On your work
image: Edit - Paste As New Layer
Image - Resize -
70% - Resize all layers not
checked
Note: At this point I have
optimized the colors by going to: Adjust -
One Step Photo fix (This is not so in the original
tutorial!)
Effects - Image
Effects - Offset
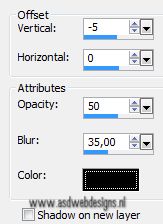
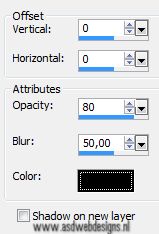
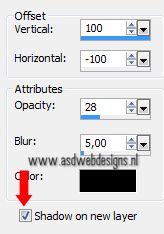
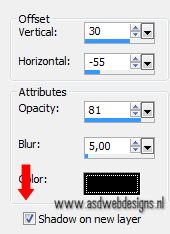
Effects 3D Effects - DropShadow
- Color: #000000 - Check shadow on new layer!
Effects 3D Effects -
DropShadow - Color: #000000 - Check shadow on new layer!
Layer Palette - Click on the second layer from the top
(raster 6 shadow 1)
Layers - Merge - Merge
Down
Effects - Image
Effects - Offset
Selections
- Load/Save Selection - Load Selection From Disk -
Msb_Sel_Shadows_04
Edit - Cut
Selections - Select None
Layer Palette - Click on the top
layer
Effects 3D Effects - DropShadow
- Color: #000000 - Uncheck shadow on new layer
15.
Open Tube
"
Msb_Text_Shadows"
Edit -
Copy
On your work
image: Edit - Paste As New Layer
Effects - Image
Effects - Offset
Effects 3D Effects - DropShadow
- Color: #000000
16.
Layer Palette -
Click on the fourth layer from the bottom (Copy of
merged)
Layers - New Raster Layer
Selections - Select All
Open Tube "Msb_Smoke_1"
Edit - Copy
On your work image: Edit - Paste Into
Selection
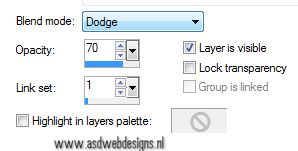
Layer Palette - Double click on this Layer and set
the Blend Mode to "Dodge" and
the Layer Opacity to
70
Selections
- Load/Save Selection - Load Selection From Disk -
Msb_Sel_Shadows_04
Selections -
Invert
Edit - Cut
Selections - Select
None
17.
Layers - New Raster
Layer
Layers - Arrange - Bring to Top
Add your name or
watermark
Layers - Merge - Merge all (Flatten)
18.
Color Palette: Set
your Foregroudcolor to
#534948 and your Backgroundcolor
to #ffffde 
Image - Add Borders - Symmetric
checked - 1 px -
Foregroundcolor
Image - Add Borders - Symmetric
checked - 2 px -
Backgroundcolor
Image - Add Borders - Symmetric
checked - 1 px -
Foregroundcolor
Selections - Select All
Image - Add Borders - Symmetric
checked - 50 px -
Backgroundcolor
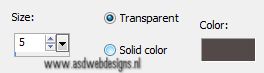
Effects 3D Effects - Chisel -
Foregroundcolor
Selections - Modify - Expand - 5 px
Effects 3D Effects - DropShadow
- Color: #000000
Selections - Select None
Image - Add Borders - Symmetric checked - 1 px
- Foregroundcolor
Image - Resize - Width 950 Pixels -
Resize all layers checked
Adjust - Sharpness - Sharpen
Save as JPG file and you're done!
If
you wish you can post your result on my Facebook Page